Every control, what it does,
and what it will not do.
A complete reference: the five modes and how they combine, every setting with its default, the problems we know about and are working on, and the things the add-on simply does not do. Nothing here is aspirational.
Three add-ons share this engine. Illustration draws flat colour and tones, Drafting draws measured work and sections, Plotter draws for a machine holding a pen. They produce identical lines; they differ in which kinds of drawing they offer.
Thank you for testing this
Every figure and every number here was measured on a real scene, on one machine. Yours is the second. That is the whole point of this round: nobody has yet installed VectorAll anywhere but the computer it was written on, and until somebody does, “it works” is a claim rather than a fact.
So the unglamorous reports are the valuable ones — an add-on that refuses to enable, a panel that reads as gibberish, a wording you had to guess at, an export that took twenty minutes. A bug you can point at is worth more than a compliment, and a confusing sentence is worth as much as a crash, because it is cheaper to fix and it stops more people.
Thank you for the time. It is genuinely the part that cannot be done alone.
Read this first: this is a beta, and parts of it are held back on purpose
Version 1.1.0 beta. Several defaults are set low deliberately, so that a round of testing stays fast enough to actually finish. If you meet one of these, it is what this build is meant to do and not a fault — please do not lose an evening to it:
- Preview draws at reduced size, not at export quality. It answers “is this the right drawing”, not “is this the finished one”. Judge quality from an exported SVG.
- Render Samples defaults to 16, which is low. Colours and tones are sampled from a real render, and 16 keeps that render down to seconds. Blotchy tones usually mean this number rather than the mode.
- Denoising is off and the seed is pinned, so the same scene gives the same colours twice. Repeatability was chosen over smoothness, and it costs grain.
- Supersample defaults to 2. 4 is smoother and slower. The default is the compromise, not the ceiling.
- Shaded Illustration is the roughest mode here, and is known to be. It ships in the free Illustration add-on so that it can be tested, not because it is finished.
- Heavy scenes are a wait. A 1.9-million-triangle interior is about a minute at preview size. The progress bar is telling the truth.
- Windows and Blender 5.2 LTS only. There are no compiled parts, so other platforms may well work — they are simply untested, and a report from one is welcome.
What is not held back: the geometry, the line classification, the occlusion, the fills, the sections, and the file that comes out. Those are the finished article, and a defect there is a real one.
Section 15 lists every problem already known about, with numbers against it. Section 16 lists what the add-on does not do at all.
Beta support is deliberately self-service. Report problems through the form opened by the add-on. Individual support and a personal reply are not promised during the beta, but every submitted report is read.
Choose the job, not a tier
These are three focused interfaces over the same renderer. All are free during the public beta, and all may be installed together.
VectorAll Illustration
Flat editable colour, simplified tones and matching a rendered appearance.
Get Illustration on GumroadVectorAll Drafting
Technical drawings, sections, hidden lines and eight standard views.
Get Drafting on GumroadVectorAll Plotter
Physical pens, fewest lifts, exact size, pen travel and DXF.
Get Plotter on GumroadAll three buttons open the VectorAll product on Gumroad, which handles access and delivers the ZIP files. No ZIP archive is hosted on this handbook site.
Before you begin
| Platform | Windows 10 / 11 only. The engine has no compiled parts, so macOS and Linux are possible, but they are untested and unsupported. |
| Blender | 5.2 LTS. Written against that release and tested on nothing else. |
| Dependencies | None. Nothing is downloaded at install time and nothing is pip-installed. This matters more than it sounds: the dependency installer is where the competing section add-on collects most of its bug reports. |
| Renderer | Not needed for lines and flat colour. Needed for Shaded Illustration and Match Render Appearance, which measure a Cycles render. |
| Install | Edit → Preferences → Add-ons → Install, pick the zip, tick it. The panel appears in the 3D viewport sidebar (N) under the VectorAll tab. |
| Licence | GPL-3.0-or-later. The full text ships inside the add-on. |
Five minutes to a drawing
- Point a camera at what you want drawn. The drawing comes from a camera you name, never from the viewport, so that the same file gives the same drawing tomorrow.
- Open the sidebar with
Nand choose the VectorAll tab. Pick your camera at the top. - Press Check Scene. It looks for the things that ruin a drawing before you spend time on one: a camera that sees nothing, transparent materials, negative scale, a missing world.
- Press Preview. It draws at reduced size and shows the result in an image editor. There is a progress bar and a Cancel button; Escape works too.
- Choose a mode and adjust Detail until the drawing says what you want, then set the output path and press Export SVG.
A heavy scene takes time. A two-million-triangle interior is about a minute at preview size. The progress bar is telling the truth; nothing has crashed.

The five output modes
A mode is not a skin. The five differ in what they contain, and the contents genuinely conflict — a technical drawing wants the hidden work shown and the appearance suppressed; an illustration wants exactly the reverse. Choosing a mode sets ten settings at once, and the panel lists which ones it just changed.
| Mode | Fills | Tones | Hidden | Materials | Detail | Scale |
|---|---|---|---|---|---|---|
| Illustration | yes | 1 | no | yes | 0.45 | no |
| Shaded Illustration | yes | 3 | no | yes | 0.40 | no |
| Clean Outline | no | 1 | no | no | 0.35 | no |
| Plotter | no | 1 | no | no | 0.30 | yes |
| Technical | no | 1 | yes | yes | 0.80 | yes |
All five switch on silhouettes, object boundaries and creases. Every mode uses smooth chaining except Plotter, which covers the edges in the fewest trails instead.
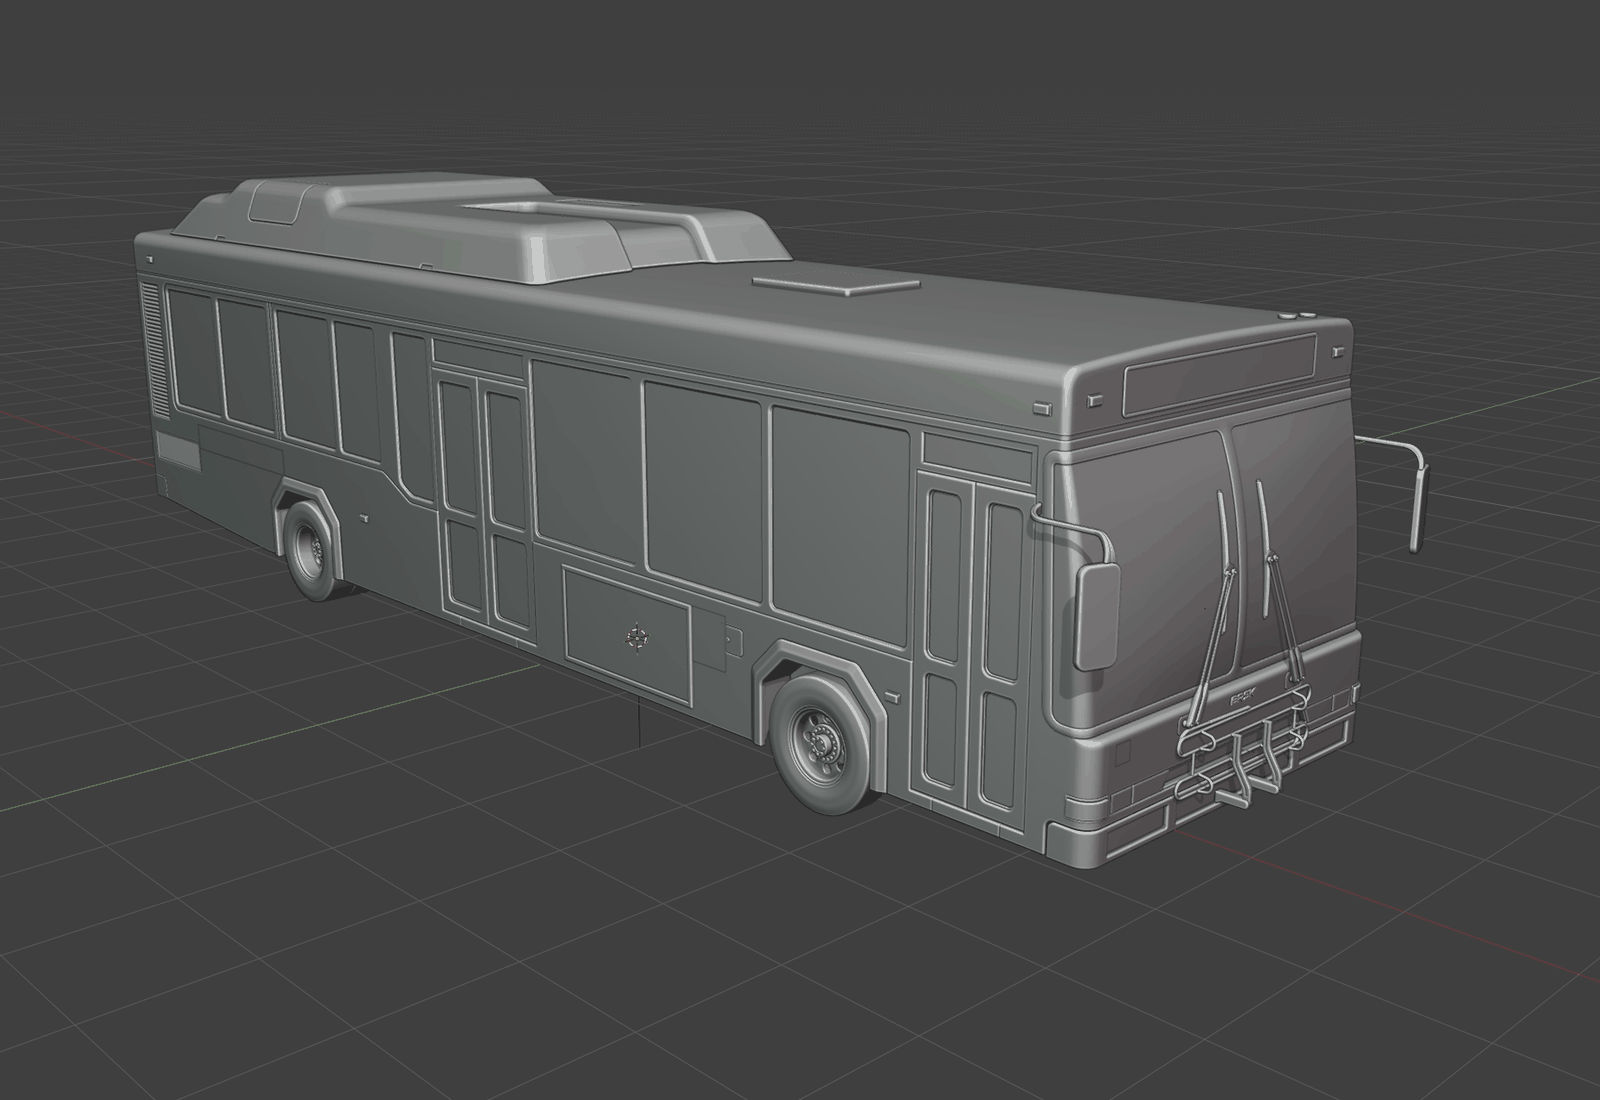
Illustration Illustration
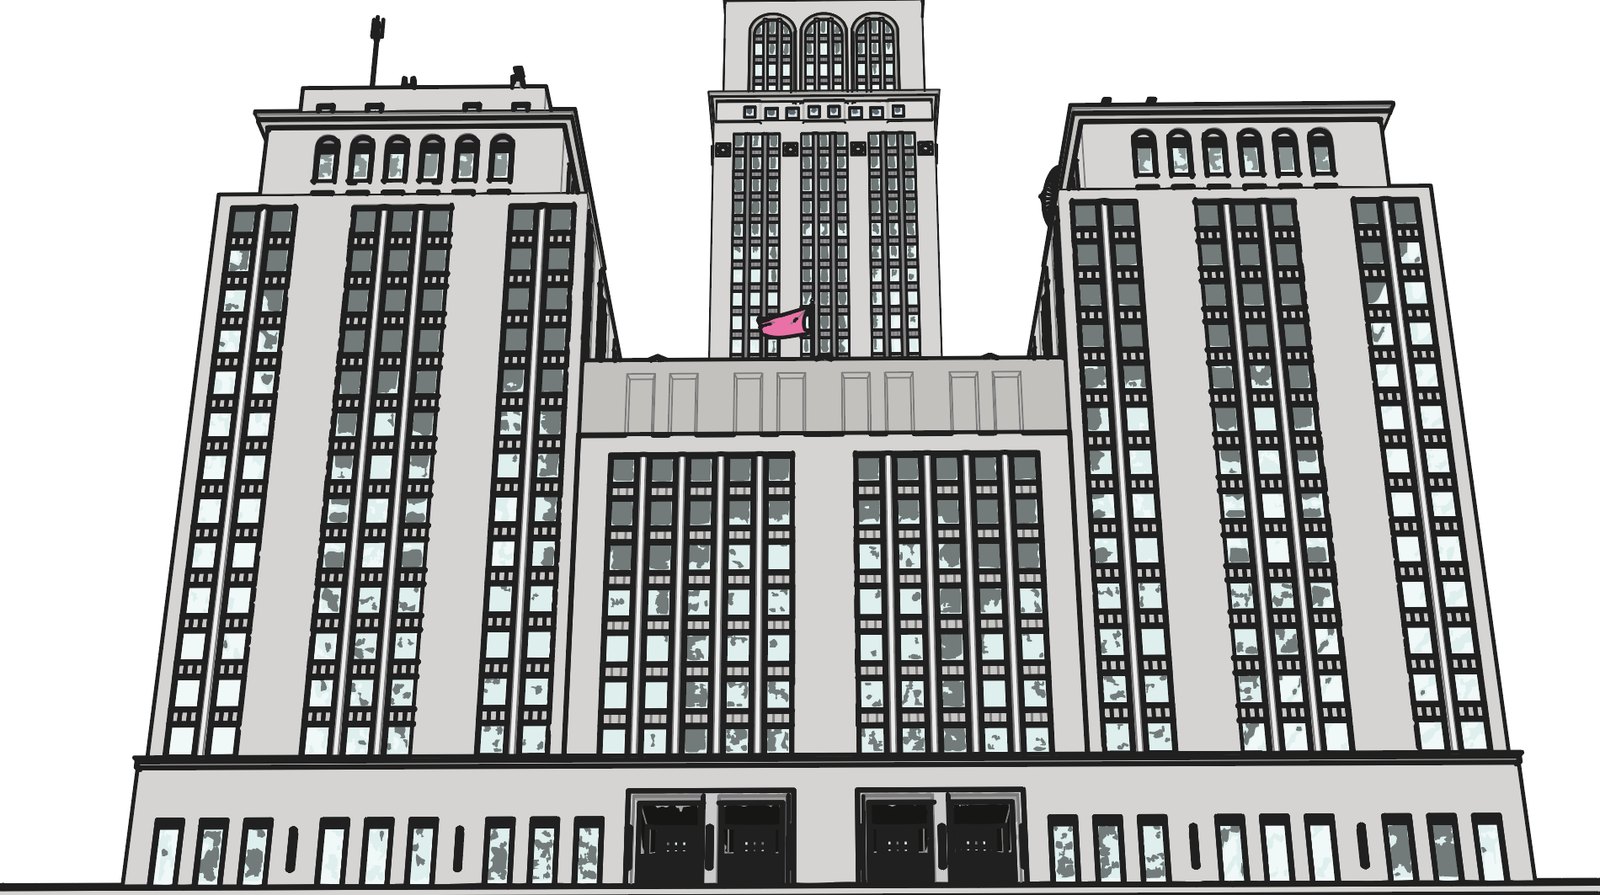
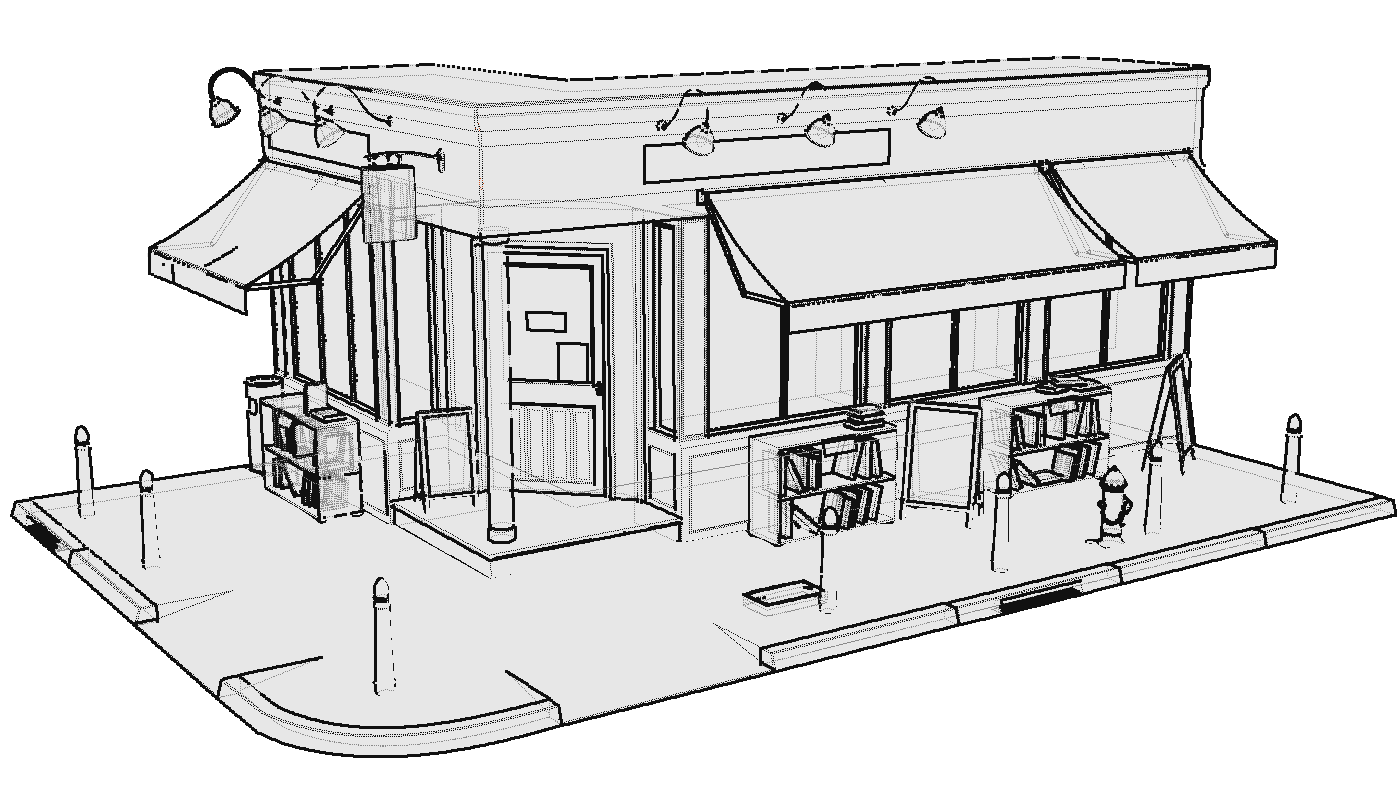
One flat area per material with the outlines over it. Every shape is selectable, every colour is one swatch, and there are no gradients or clipping masks to fight in Illustrator.
Use it for product pages, diagrams, icon sets, colour-coded parts.
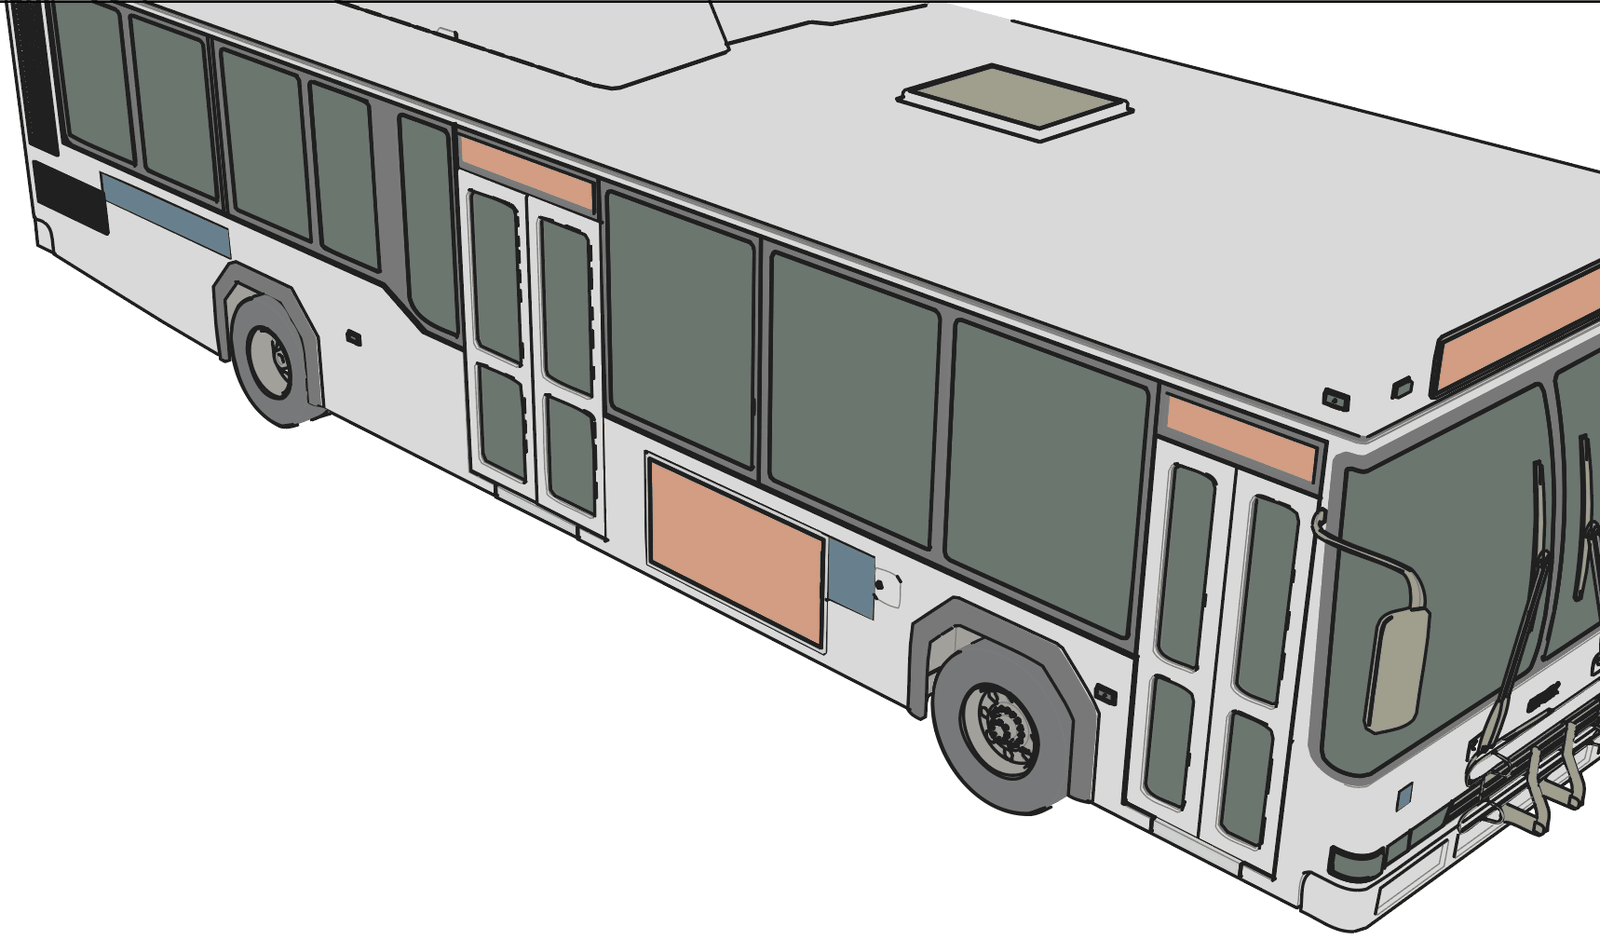
Shaded Illustration Illustration
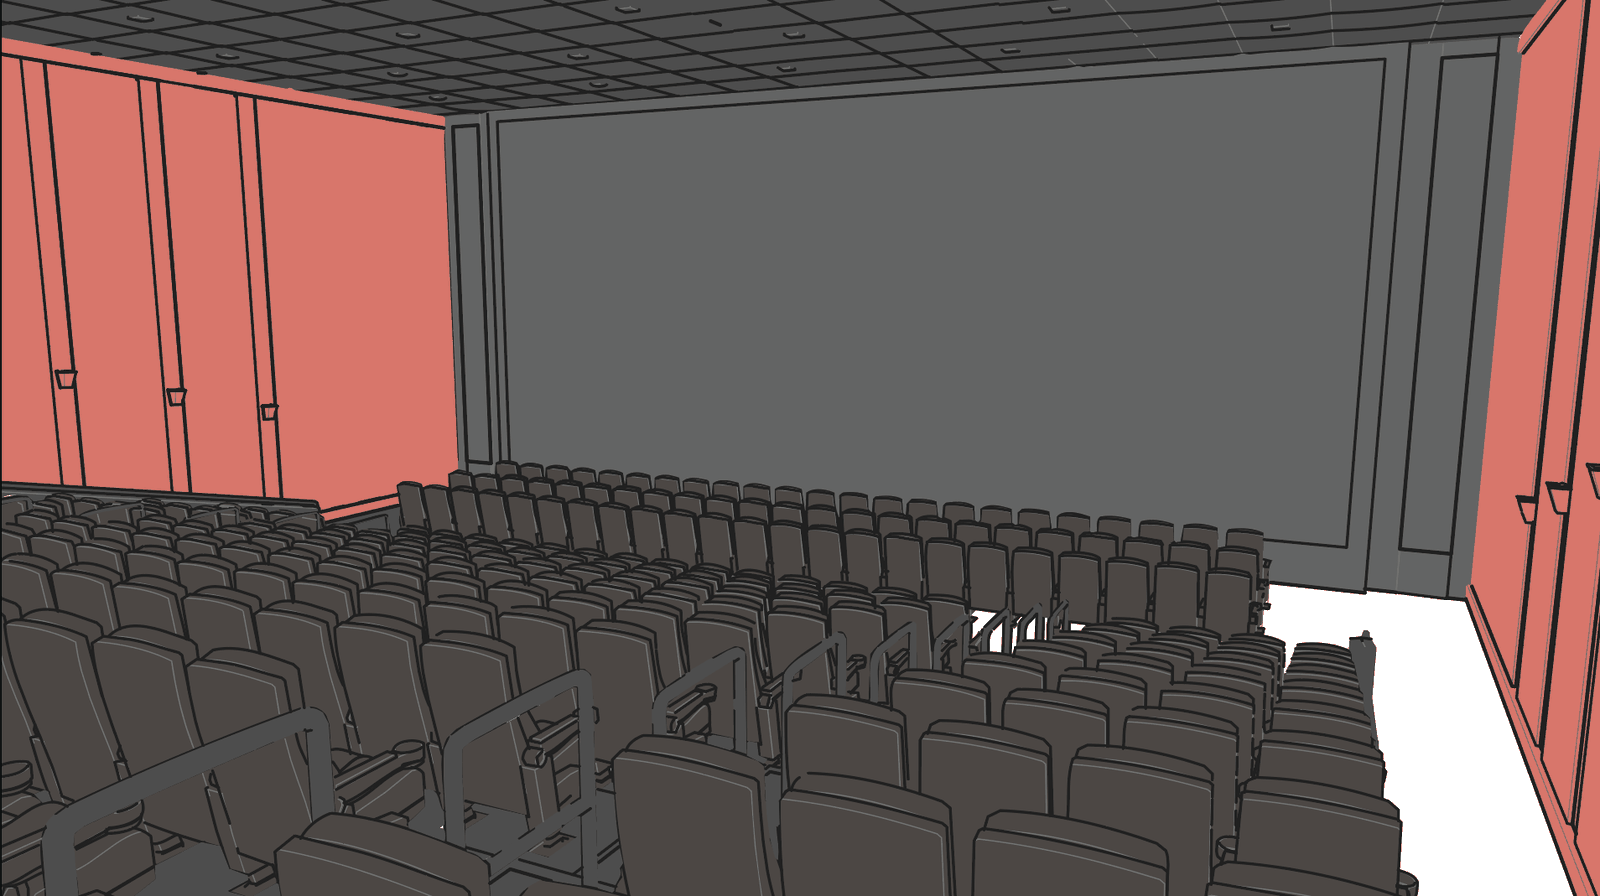
The same, plus a shadow and a highlight tone per shape, measured from a render and applied as tints of the material colour — so a red panel in shadow stays that red, darkened. Evenly lit shapes stay flat.
Use it for illustrations that must read as three-dimensional and stay editable. Needs a scene that renders.
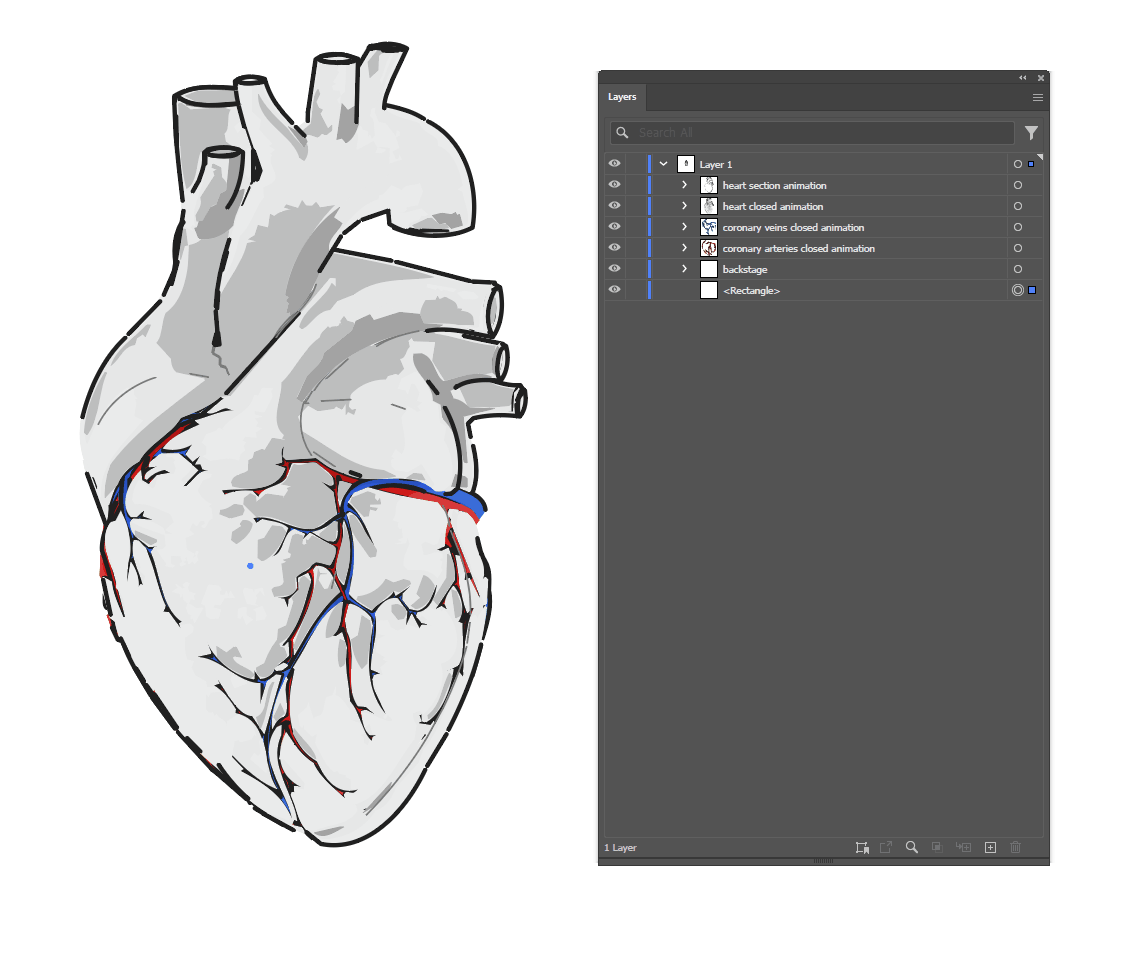
Clean Outline all three
The shape and nothing else. Detail runs low deliberately: with only lines carrying the drawing, every extra line costs clarity.
Use it for colouring pages, laser and vinyl cutting, logos, line-art bases to paint over.
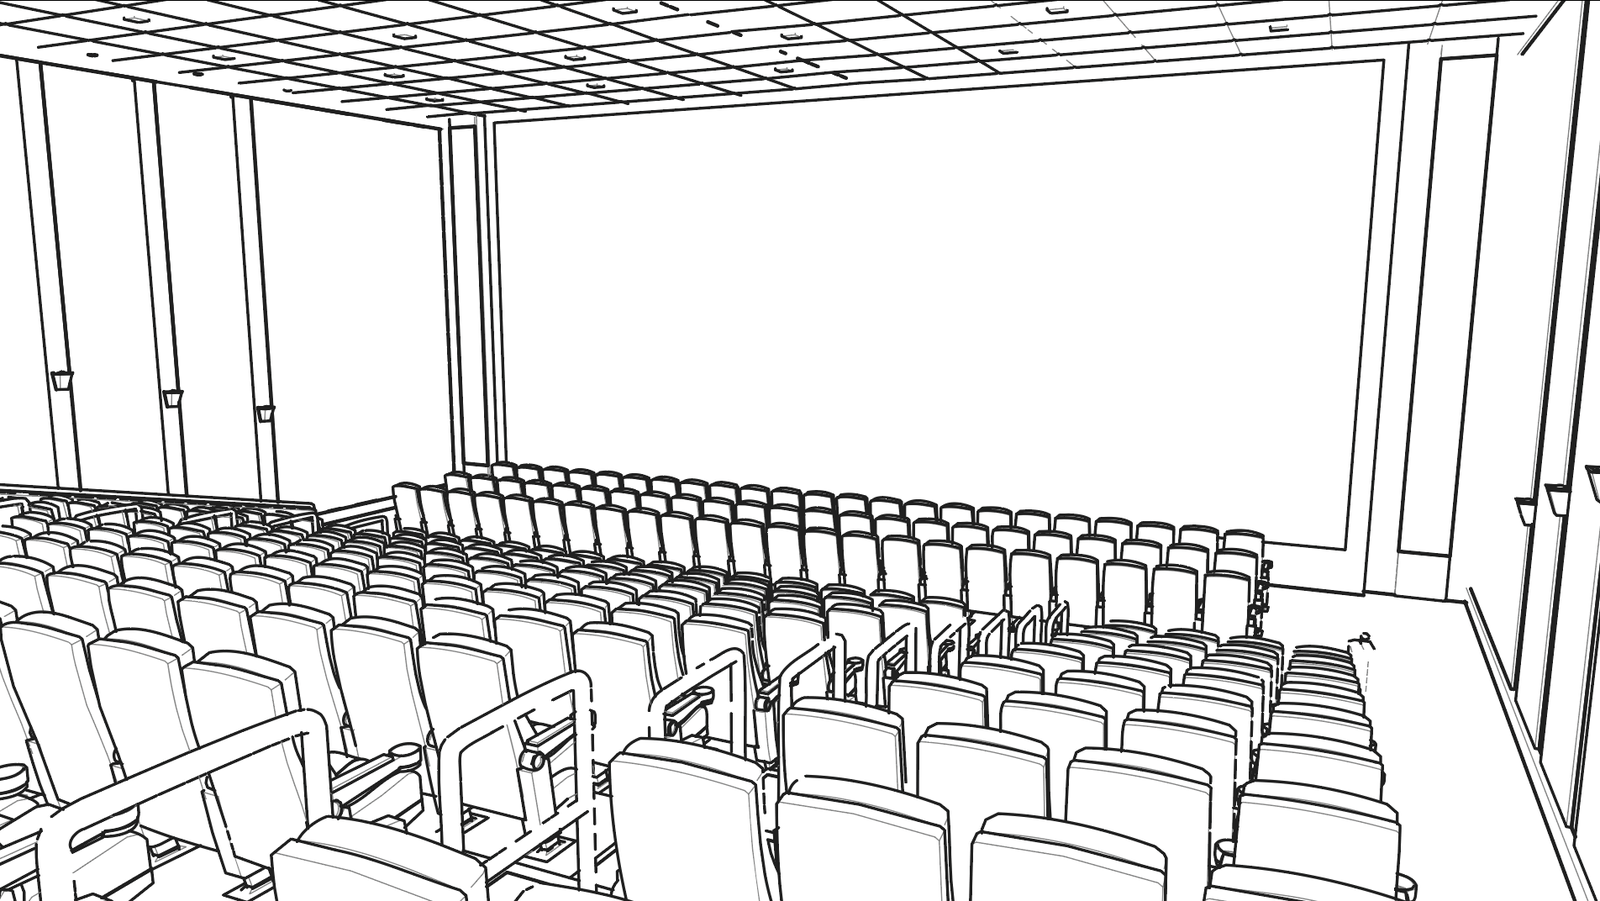
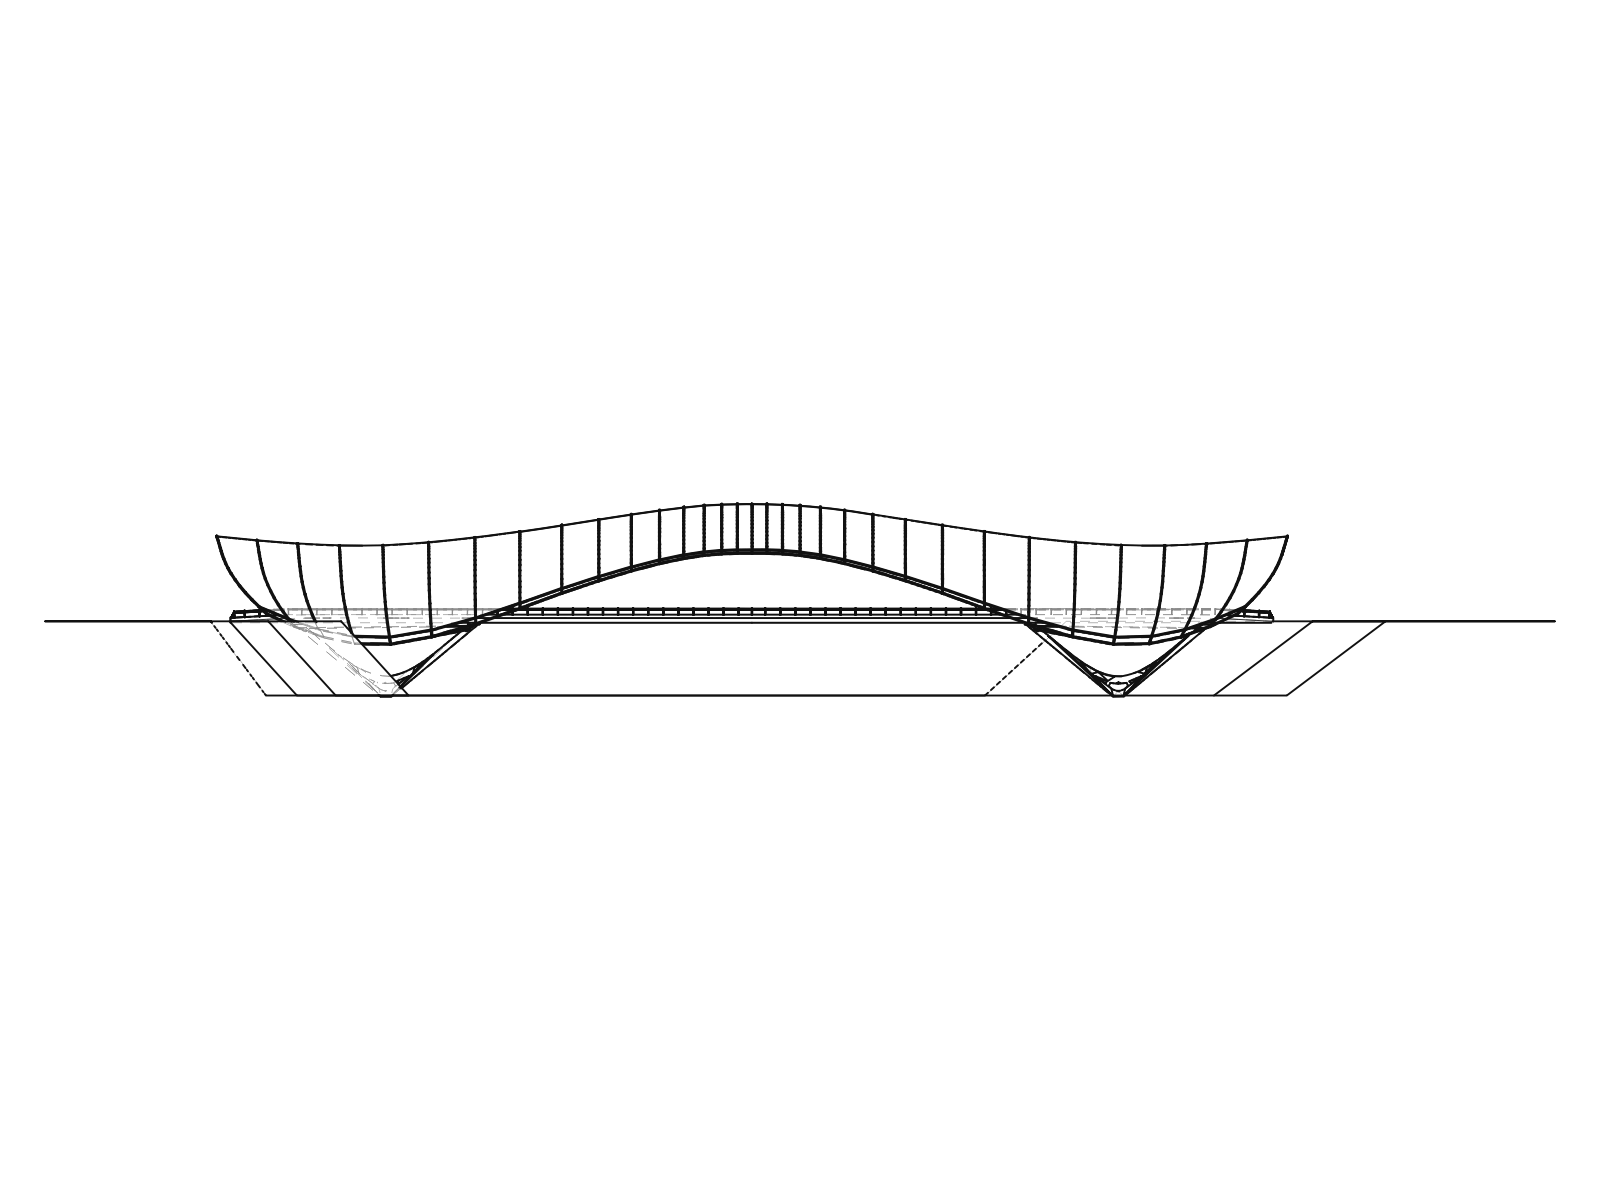
Plotter Plotter
A drawing for a machine that holds a pen. Nothing filled, nothing dashed, one pen per layer, a true size on the page, and coincident strokes removed — a plotter would otherwise draw each of them twice, slowly. Detail runs low: a stroke too short to be worth its own pen-down costs two lifts to make a mark nobody can see.
Use it for pen plotters, vinyl and laser cutters, CNC.
Technical Drafting
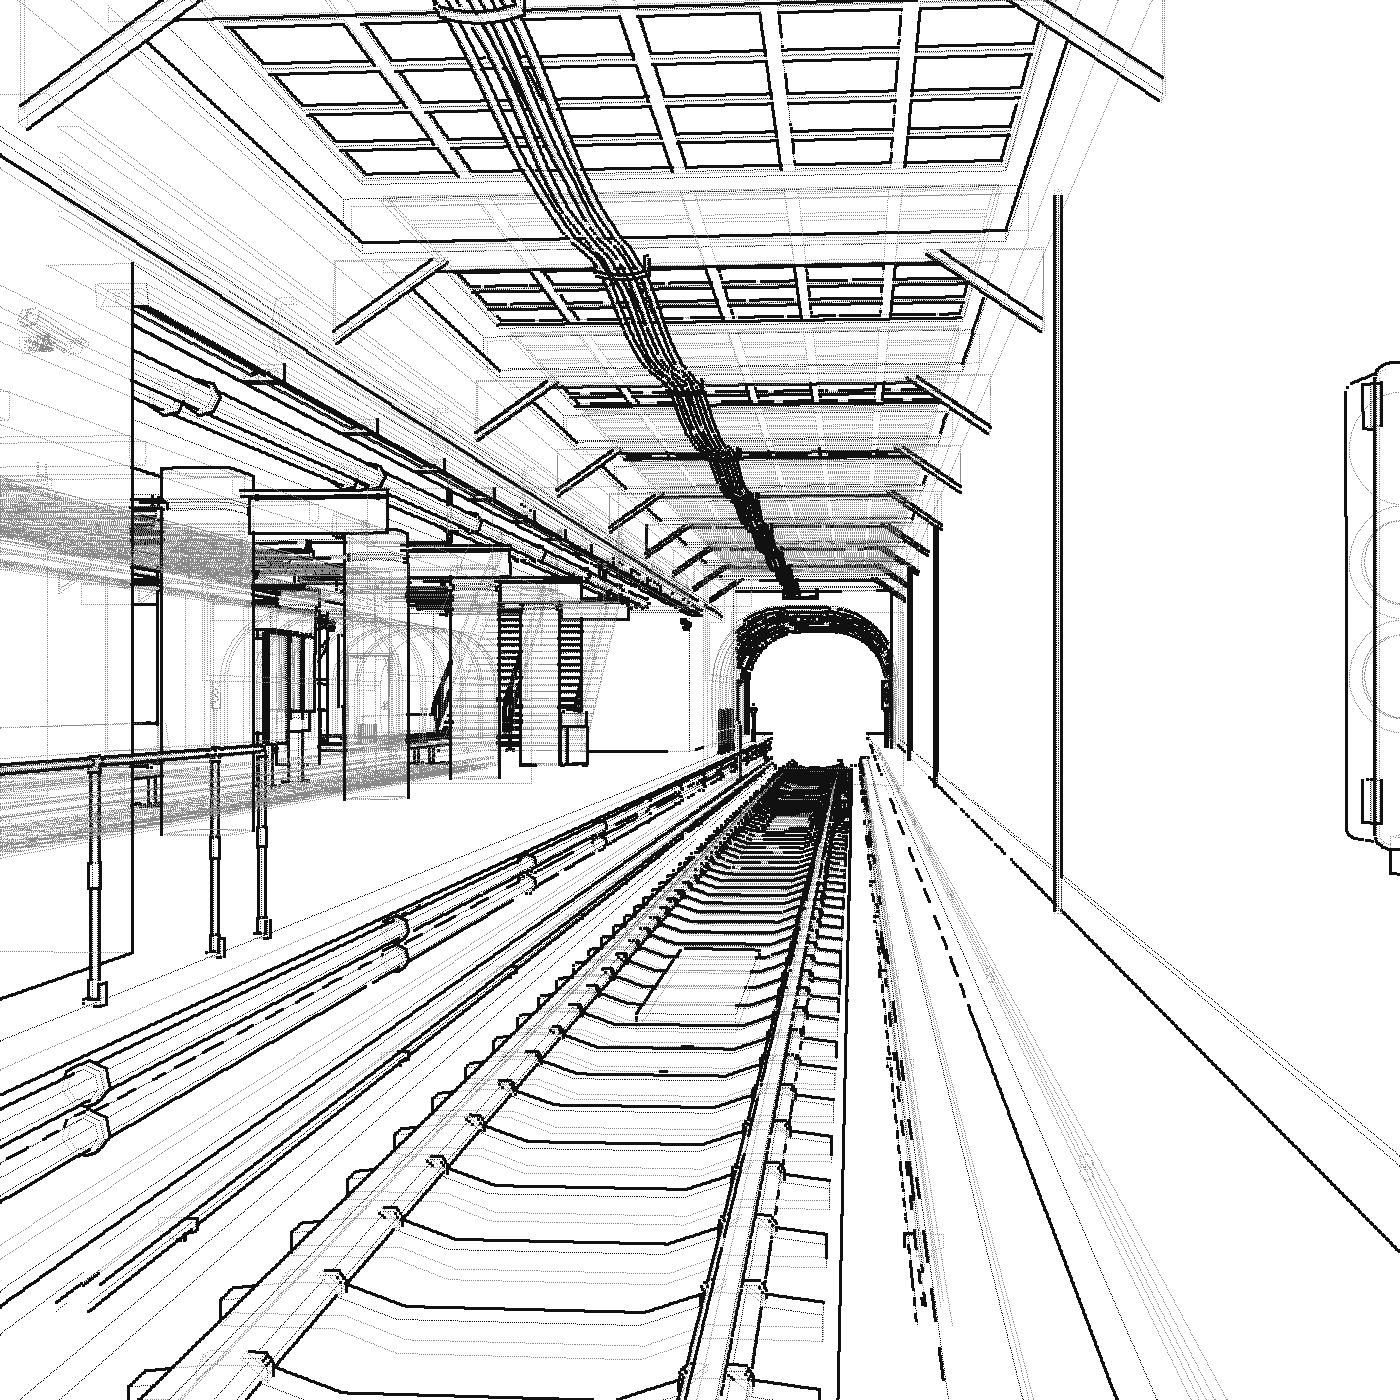
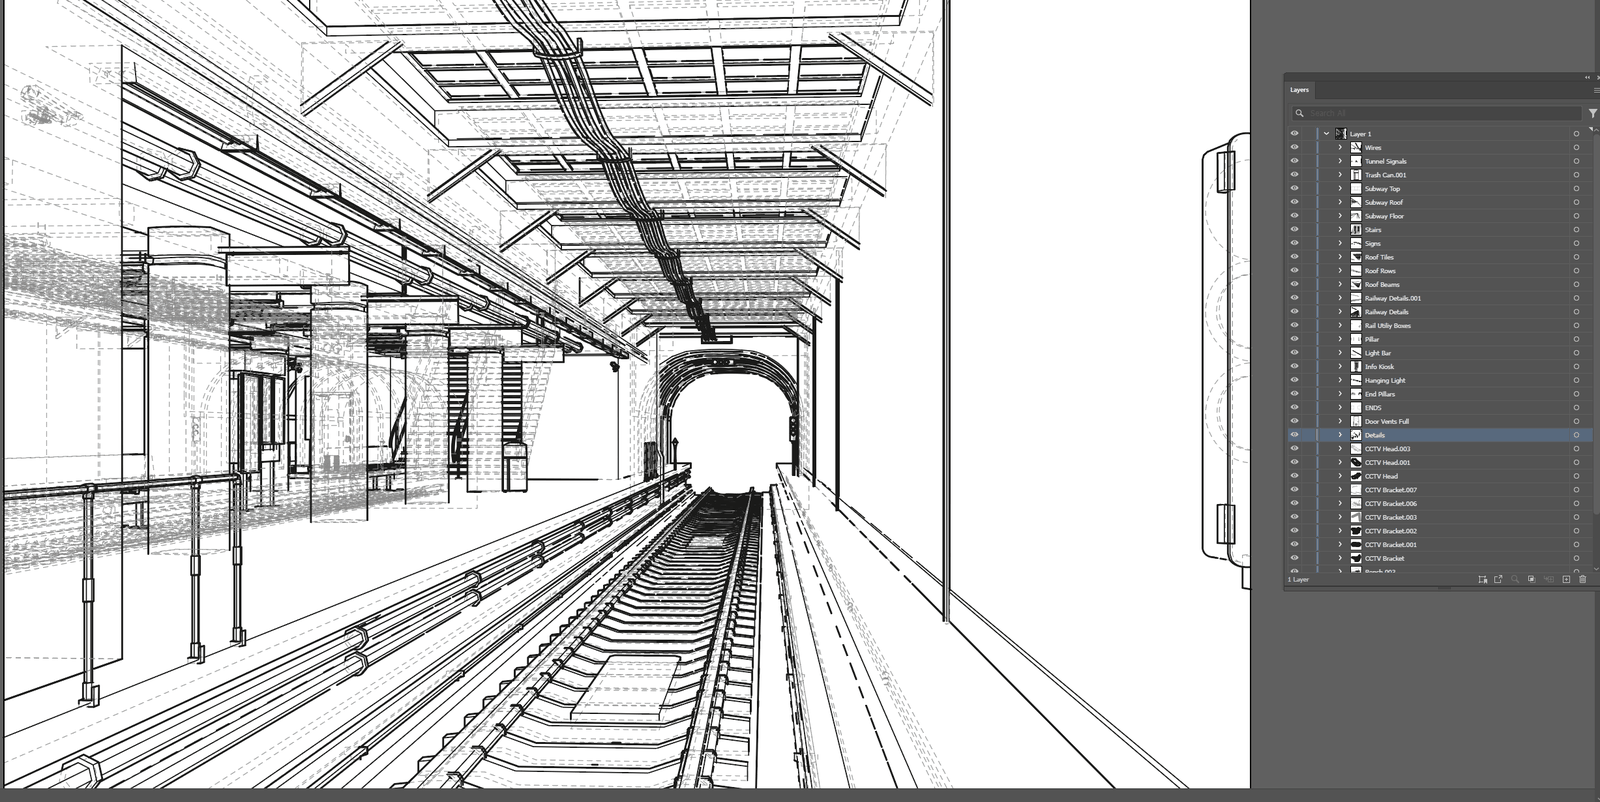
Occluded edges drawn dashed instead of discarded, a true page scale when the camera is orthographic, and the detail budget spent on geometry rather than appearance. Expect a heavier file: this mode keeps what the others throw away.
Use it for assembly and reference drawings, patent-style figures, documentation.
Colour: two different questions
These are not two styles. They answer different questions and both answers are correct.
Preserve Material Colours Illustration, Drafting
The colour that was authored, untouched by lighting or view transform. Read from the material — and when the base colour comes from a texture, from the median of that texture, following the actual wire from the Base Colour socket rather than grabbing the first image node it finds.
For diagrams, brand work, colour-coded parts, anything where
#F21732 has to stay #F21732.
Match Render Appearance Illustration
The colour the render shows, lighting and view transform included. Renders once in a temporary scene that links your objects, samples each region through the very ownership map its outline was traced from, and deletes itself. Your scene, its engine and its passes are never written to.
The frame is read after Blender's display pipeline, so AgX, Filmic and your exposure all land in the colour.
Detail
One slider, because the four thresholds behind it have to move together. Moving only one produces a drawing that is inconsistent with itself — fine lines around coarse shapes, or the reverse. Detail is a significance threshold, not an edge count: turning it down raises the bar a feature must clear rather than deleting every other line.
| Detail | Crease over | Stroke at least | Curve within | Shape at least |
|---|---|---|---|---|
| 0.00 | 75° | 2.50 mm | 1.20 px | 40 px |
| 0.30 — Plotter | 63° | 1.84 mm | 0.94 px | 29 px |
| 0.35 — Clean Outline | 61° | 1.73 mm | 0.90 px | 27 px |
| 0.40 — Shaded | 59° | 1.62 mm | 0.86 px | 26 px |
| 0.45 — Illustration | 57° | 1.51 mm | 0.82 px | 24 px |
| 0.80 — Technical | 43° | 0.74 mm | 0.52 px | 11 px |
| 1.00 | 35° | 0.30 mm | 0.35 px | 4 px |
The stroke minimum is measured on the finished page, not in pixels, so the same Detail gives the same visual density on A4 and on A0.
Lines
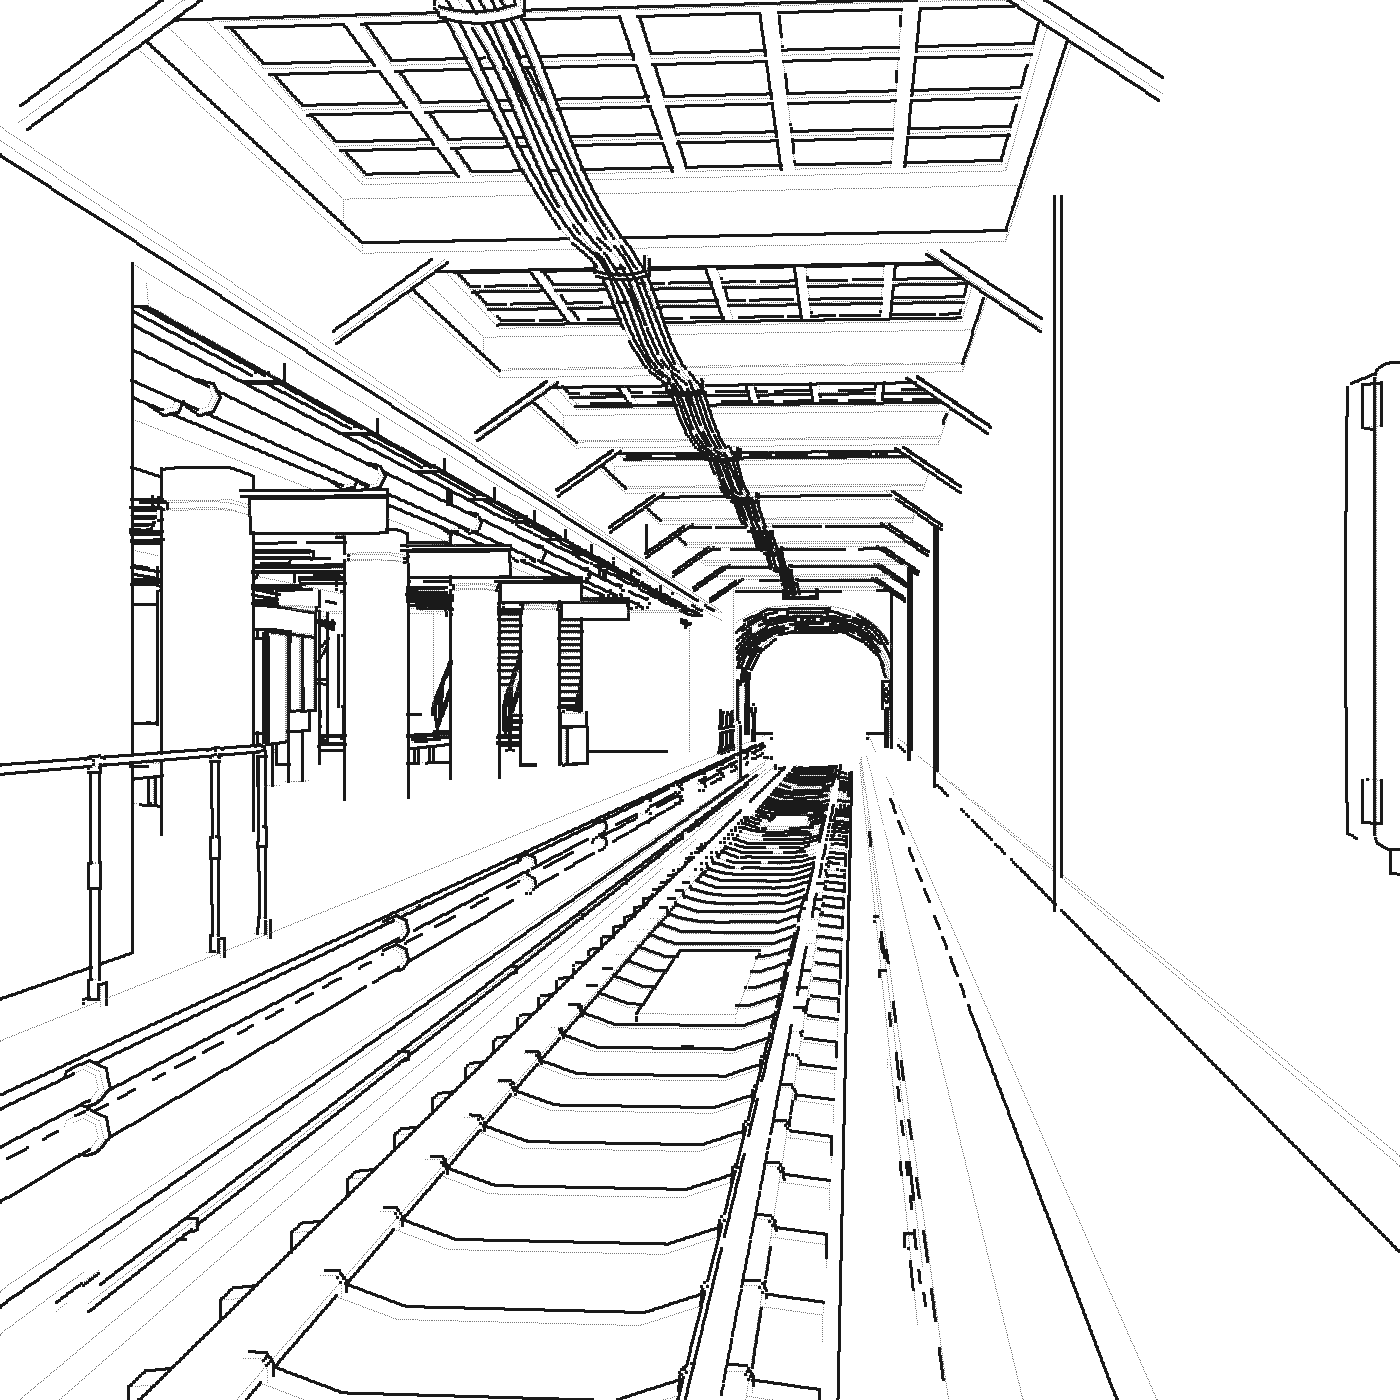
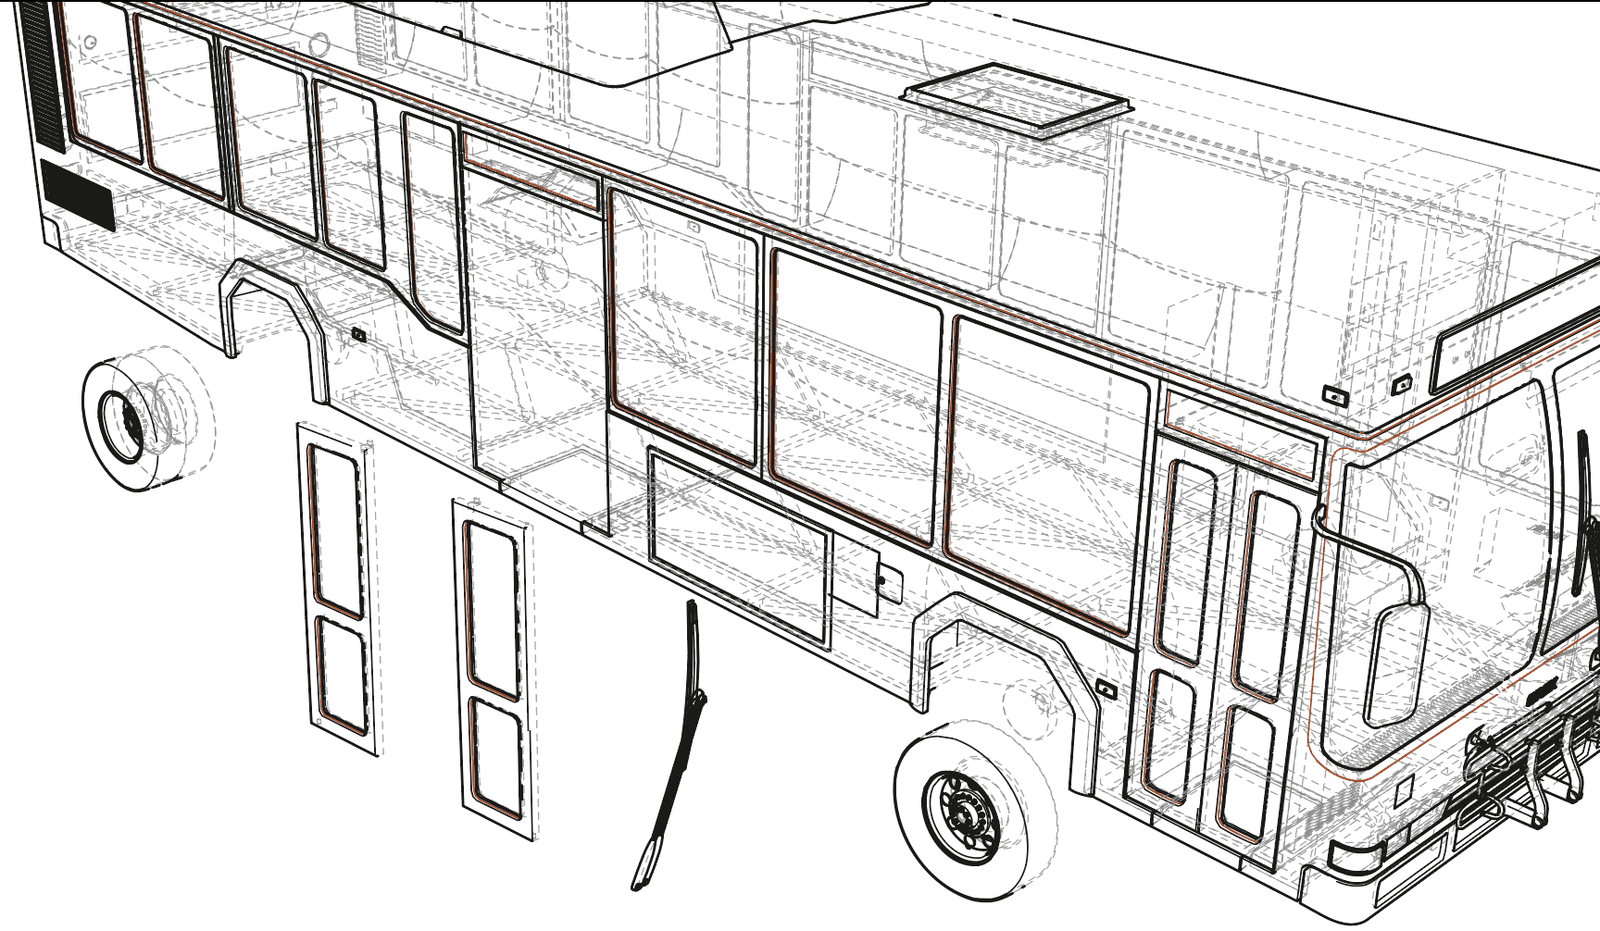
Five classes, each with its own checkbox and its own pen. Every edge is drawn once, in the highest class it belongs to — silhouette, then boundary, then material, then crease. An edge that is both an outline and a fold is one line and not two.
| Class | What it is | Default |
|---|---|---|
| Outer Silhouette | Where the surface turns away from the camera. Computed for your camera, not found in pixels. | on |
| Object Boundaries | An open edge — the rim of a plane or a shell with no thickness. | on |
| Creases | A fold sharper than the Detail threshold. | on |
| Material Edges | Where one material meets another on the same surface: a painted seam, not a fold. | on |
| Hidden Lines | The occluded runs, drawn dashed. Technical switches these on; the others leave them off. | off |
Unticking a class hides those edges rather than demoting them into the next class down — which is what unticking a box is meant to mean.
How occlusion is decided
Against a depth buffer built from the same triangles the edges come from, so the lines and the geometry cannot disagree. Inter-object, self-occlusion and interpenetration are all included. The tolerance is relative to the depth at the sample, so it scales with the scene instead of breaking on large models.
Fills and tones
Filled Shapes gives one closed shape per visible object and material,
named, grouped and painted in order, with holes as genuine holes and
fill-rule="evenodd" set, so a hole does not depend on winding luck.
Outlines are traced from coverage rather than from mesh edges, so a wheel rim comes
out as a curve rather than a 24-sided polygon.
Tones Illustration
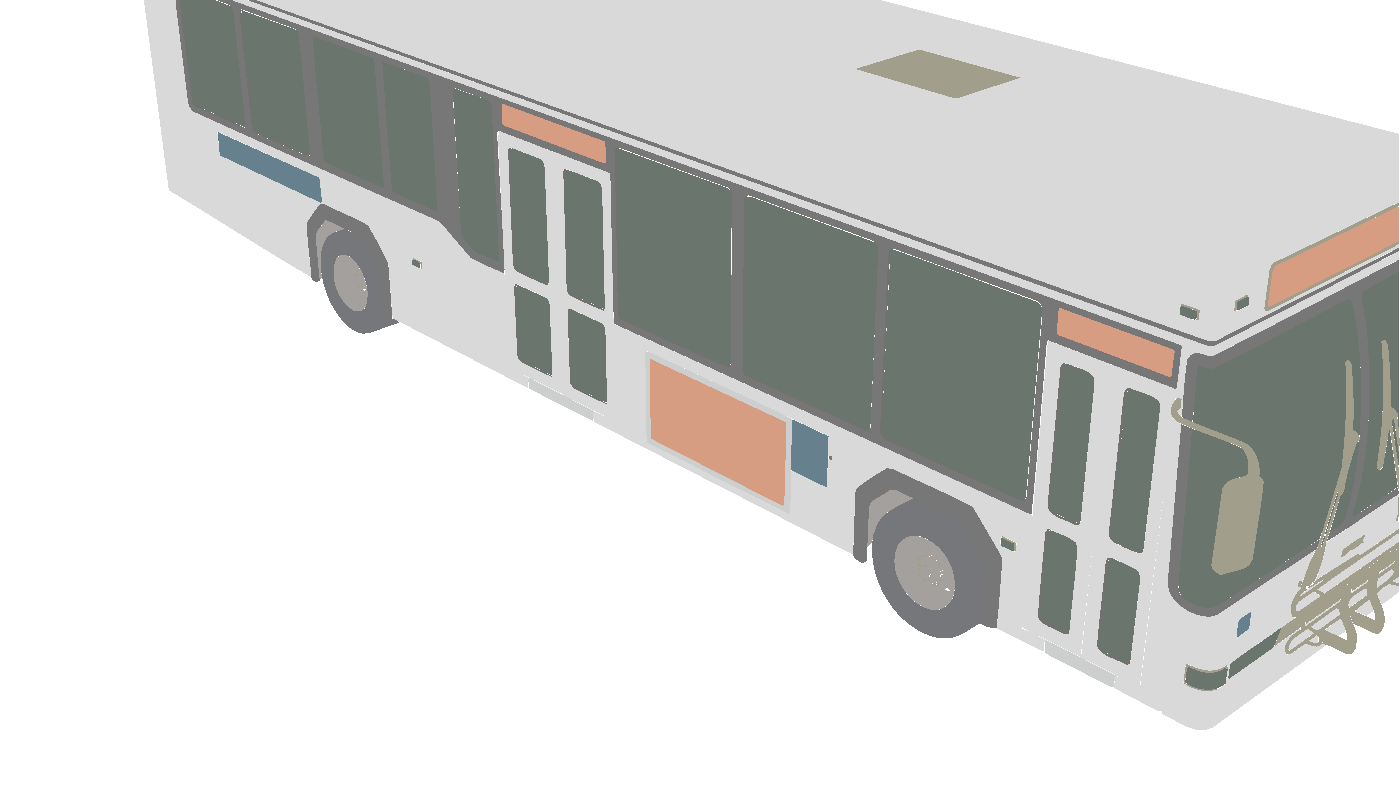
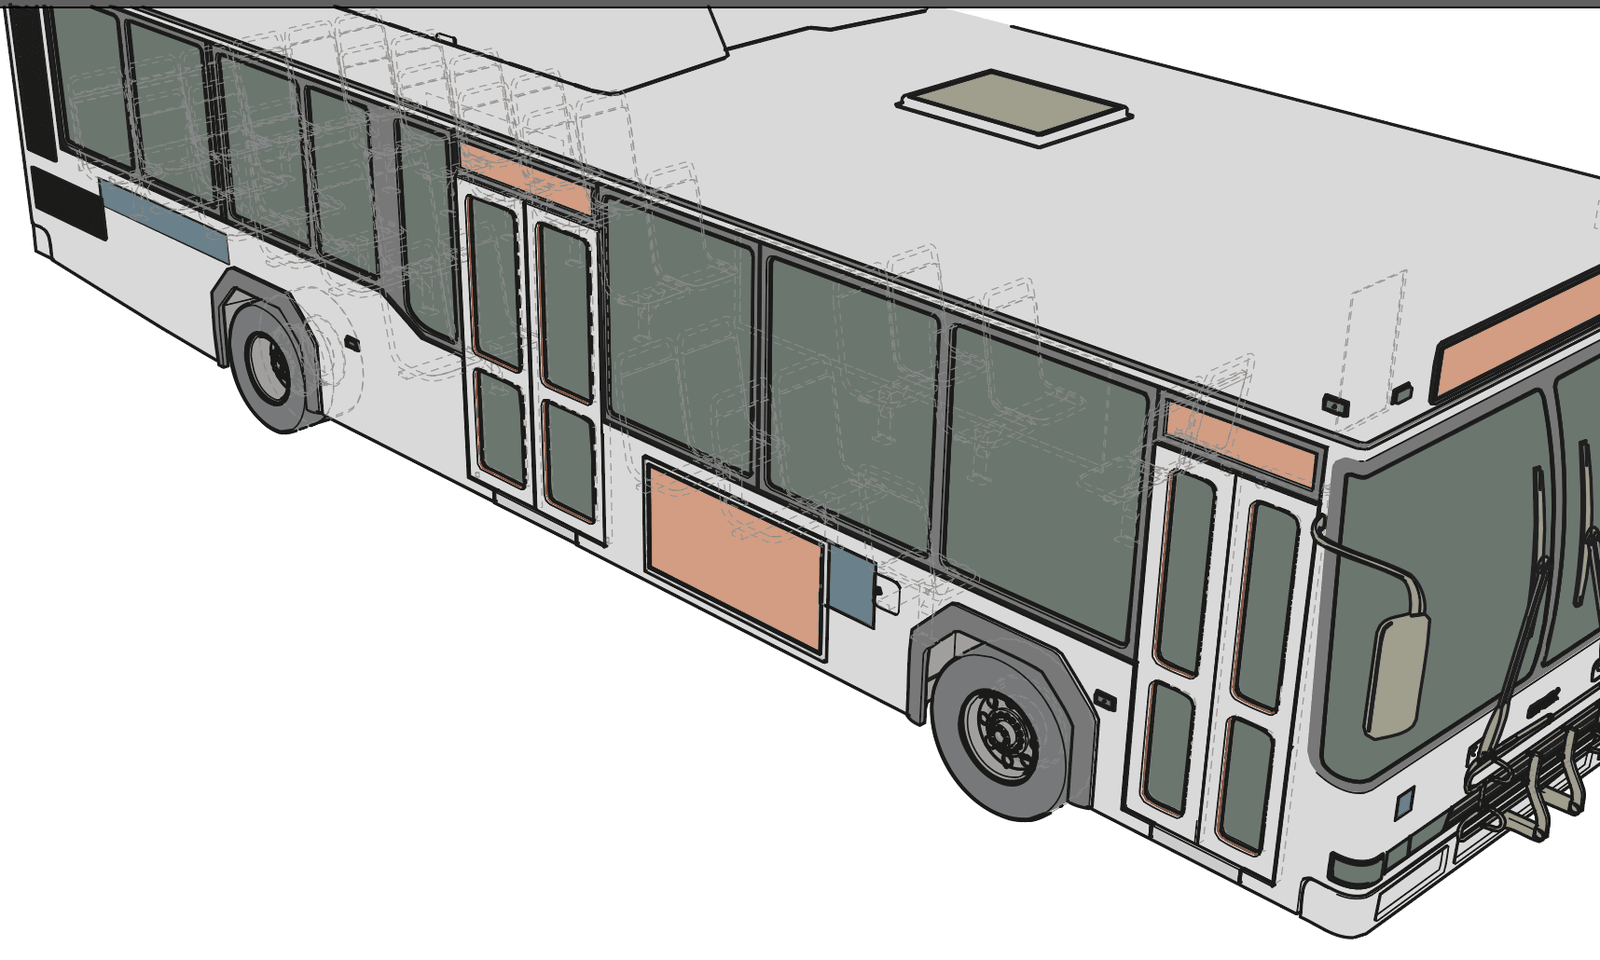
How many flat tones each shape is split into. One leaves every shape flat; two adds a shadow; three adds a highlight. Above one, the scene has to render, because the tones are measured rather than guessed.
| Setting | Default | What it changes |
|---|---|---|
| Tones | 1 | 1, 2 or 3 flat tones per shape. |
| Tone Threshold | 0.05 | How much a shape must actually vary in light before it is split at all. Raise it for a flatter, more graphic drawing. |
| Tone Strength | 1.00 | How far the tints move from the material colour. Changes only colours, never shapes, so it can be adjusted without the drawing moving. |
The base colour is painted first and the bands over it, so any hairline between two bands shows the shape's own colour rather than bare paper.
Depth-graded line weight Drafting
Near lines heavier, far lines lighter — the oldest trick in draughtsmanship,
and one no other Blender exporter examined does. Set Depth Bands to 2 or 3 and each
band becomes its own named layer (__near, __mid,
__far), so every far line can be selected at once in Illustrator.
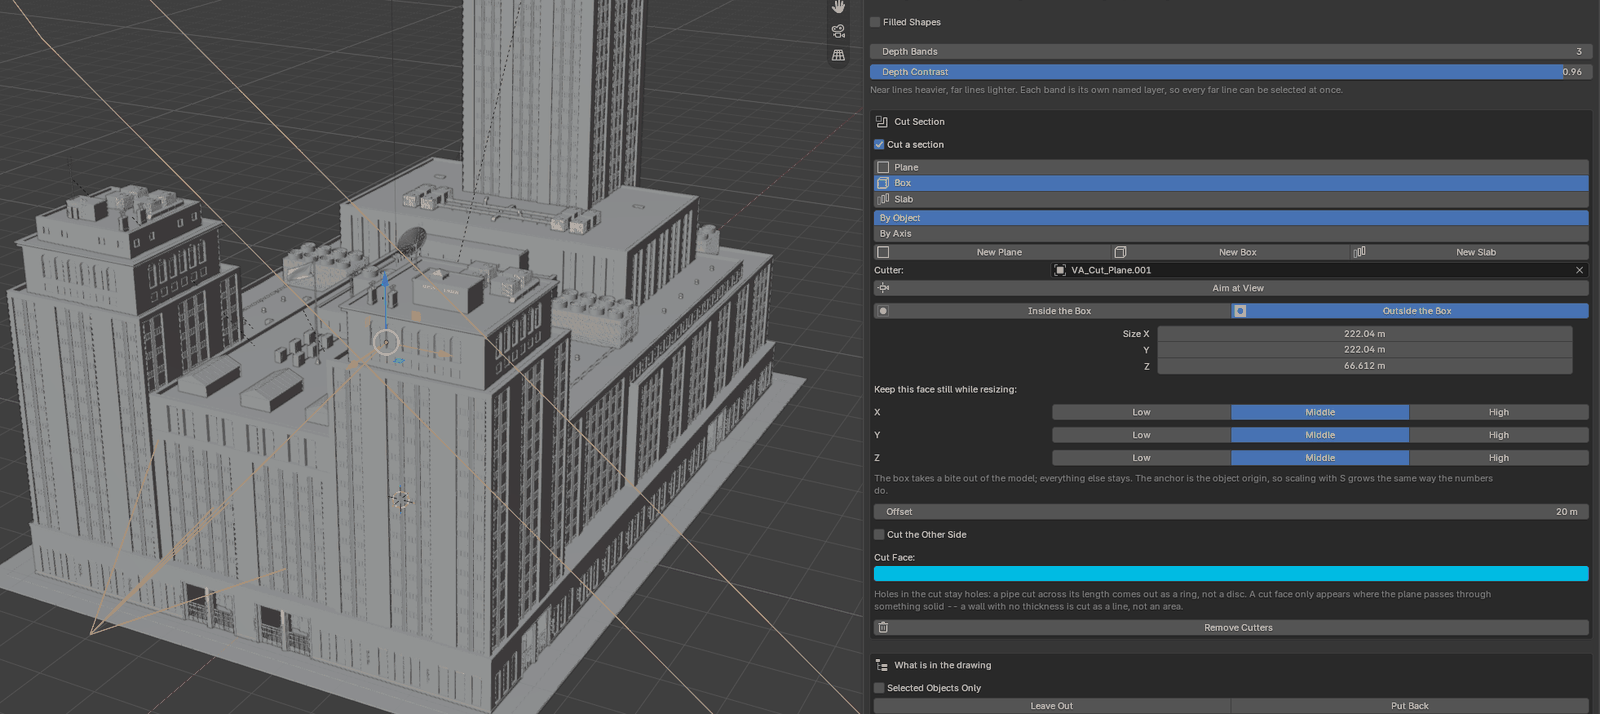
__near, __mid, __far — so every far line in the drawing can be selected at once in Illustrator.Cut sections Drafting
Press New Plane, New Box or New Slab. Each makes a wireframe object in the middle of the model, already aimed at the viewport camera, which you then move with G and turn with R like anything else. Remove Cutters deletes the ones this add-on made and nothing else.
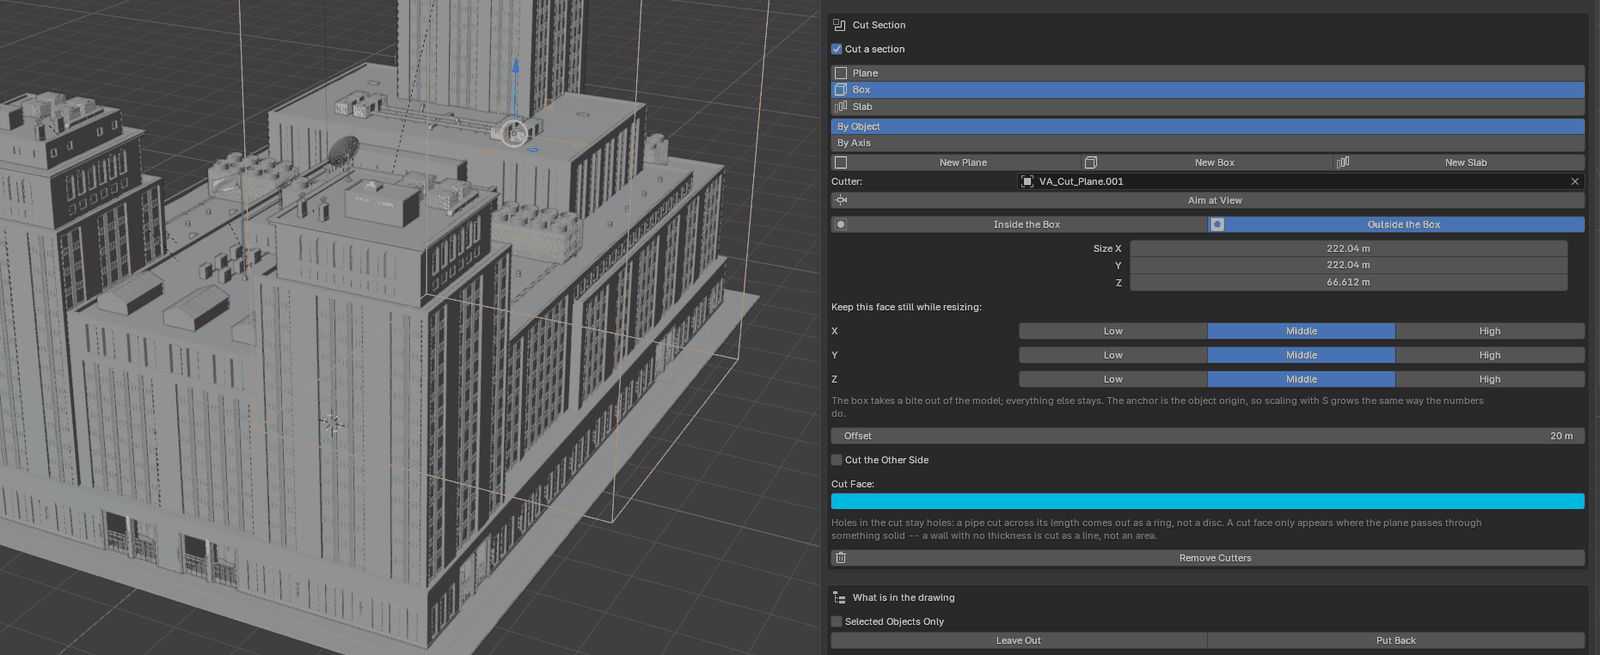
| Cutter | What it removes | Weight |
|---|---|---|
| Plane | Everything the arrow points at. The square shows where the cut lands; the cut carries on past it, so making the square smaller does not cut less. | 10 vertices |
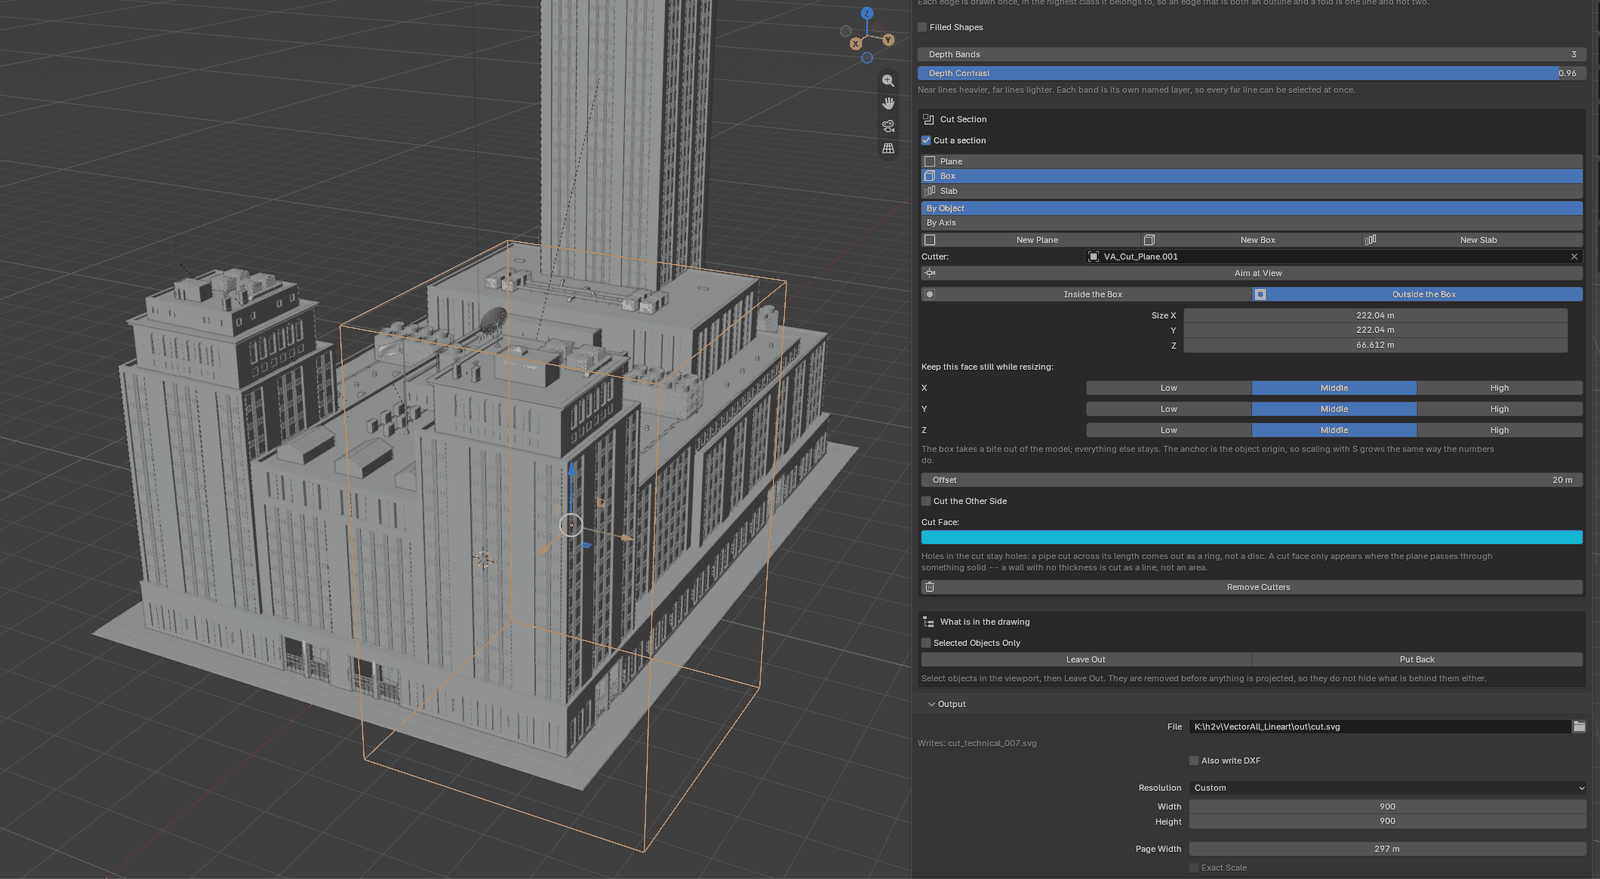
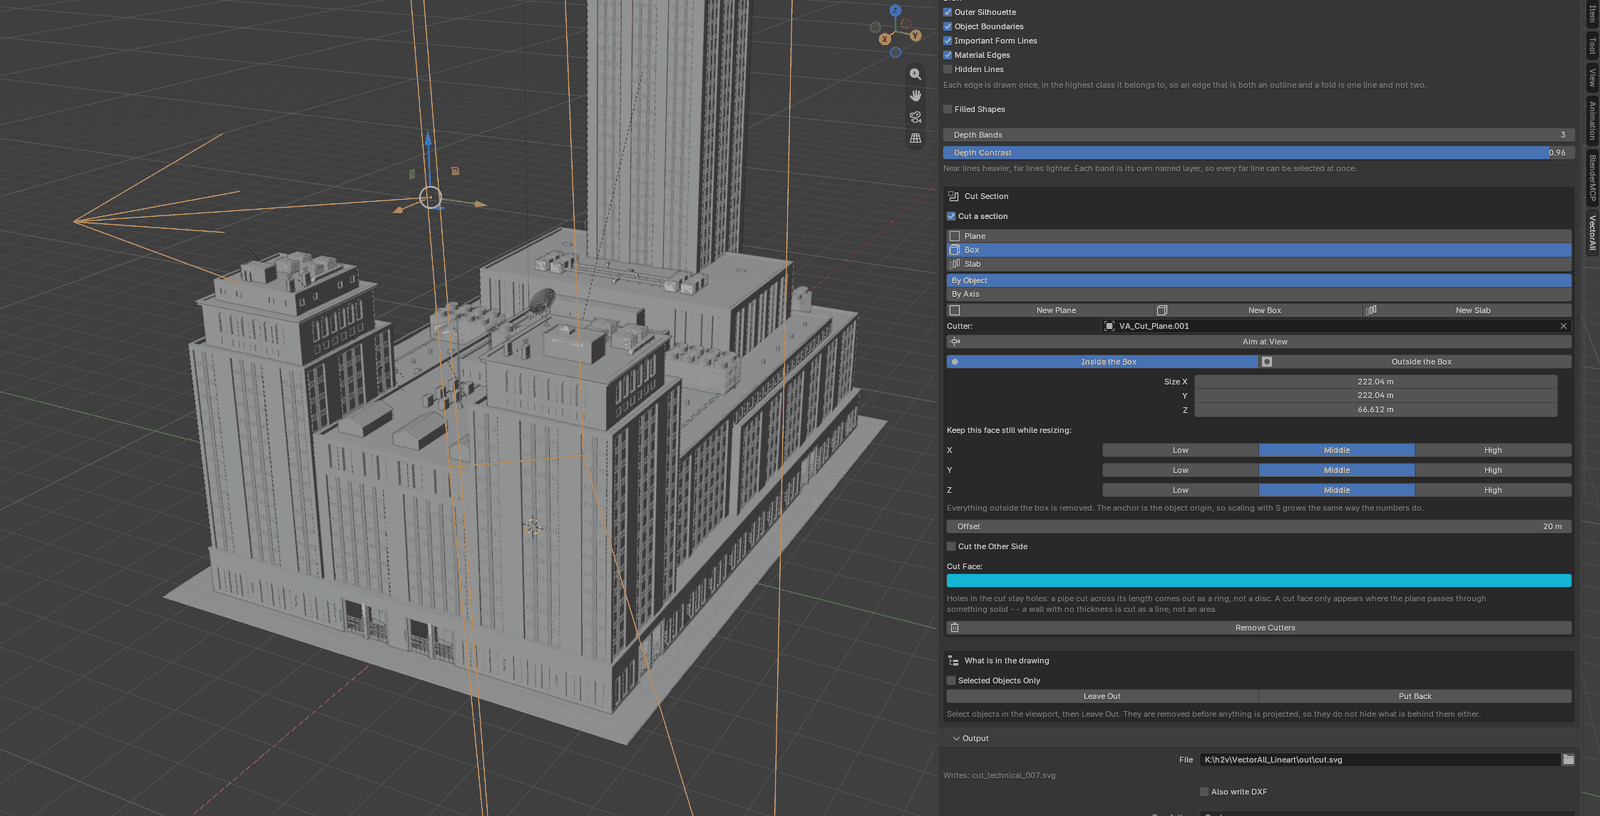
| Box | Everything outside the box — or everything inside it, if you switch Keep over. Inside isolates a room; outside takes a bite out of the model. | 8 vertices |
| Slab | Everything in front of the cut, and everything more than Slab Depth behind it. This is what stops an elevation showing the whole building behind it. | 14 vertices |
They are wireframes made of edges and no faces, so all three together weigh thirty-two vertices, and a mesh with no faces cannot be drawn into the section it defines even by accident.
Aiming without placing anything
Switch Aim to By Axis and choose +X, −X, +Y, −Y, +Z or −Z. The cut sits through the middle of the model facing that way, with an Offset in scene units to slide it. Nothing to place, nothing to aim — which is most of what a section actually needs.
Aim at View turns a cutter to face the viewport camera, so the half between you and the model is the half that goes.
Sizing a box by number
The panel shows the box's real dimensions, live. The anchor buttons choose which face stays still when they change: set Z to Low and typing a new height raises the ceiling without moving the floor. The anchor is the object's origin, so scaling with S grows the same way.
The cut face
Where there is a cut face, its holes stay holes: a pipe cut across its length comes out as a ring, not a disc. Verified — a solid box gives one cap with no holes, a square pipe gives one cap with exactly one hole.
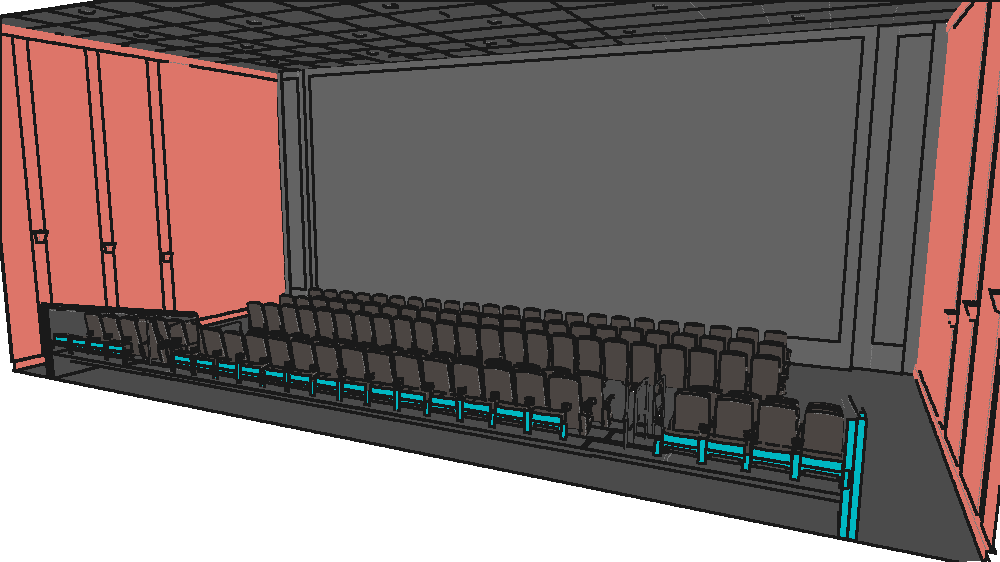
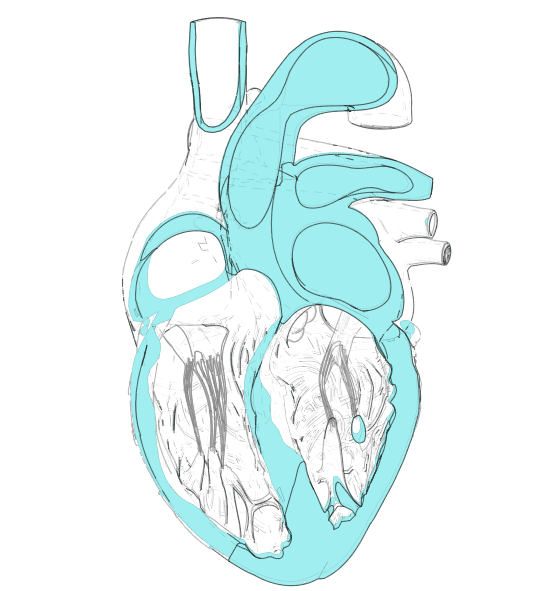
Pick a Cut Face colour that is not in your scene. The default is cyan for that reason: the first default was a brick red, and on the first real building it met it was within a few percent of that building's own walls.
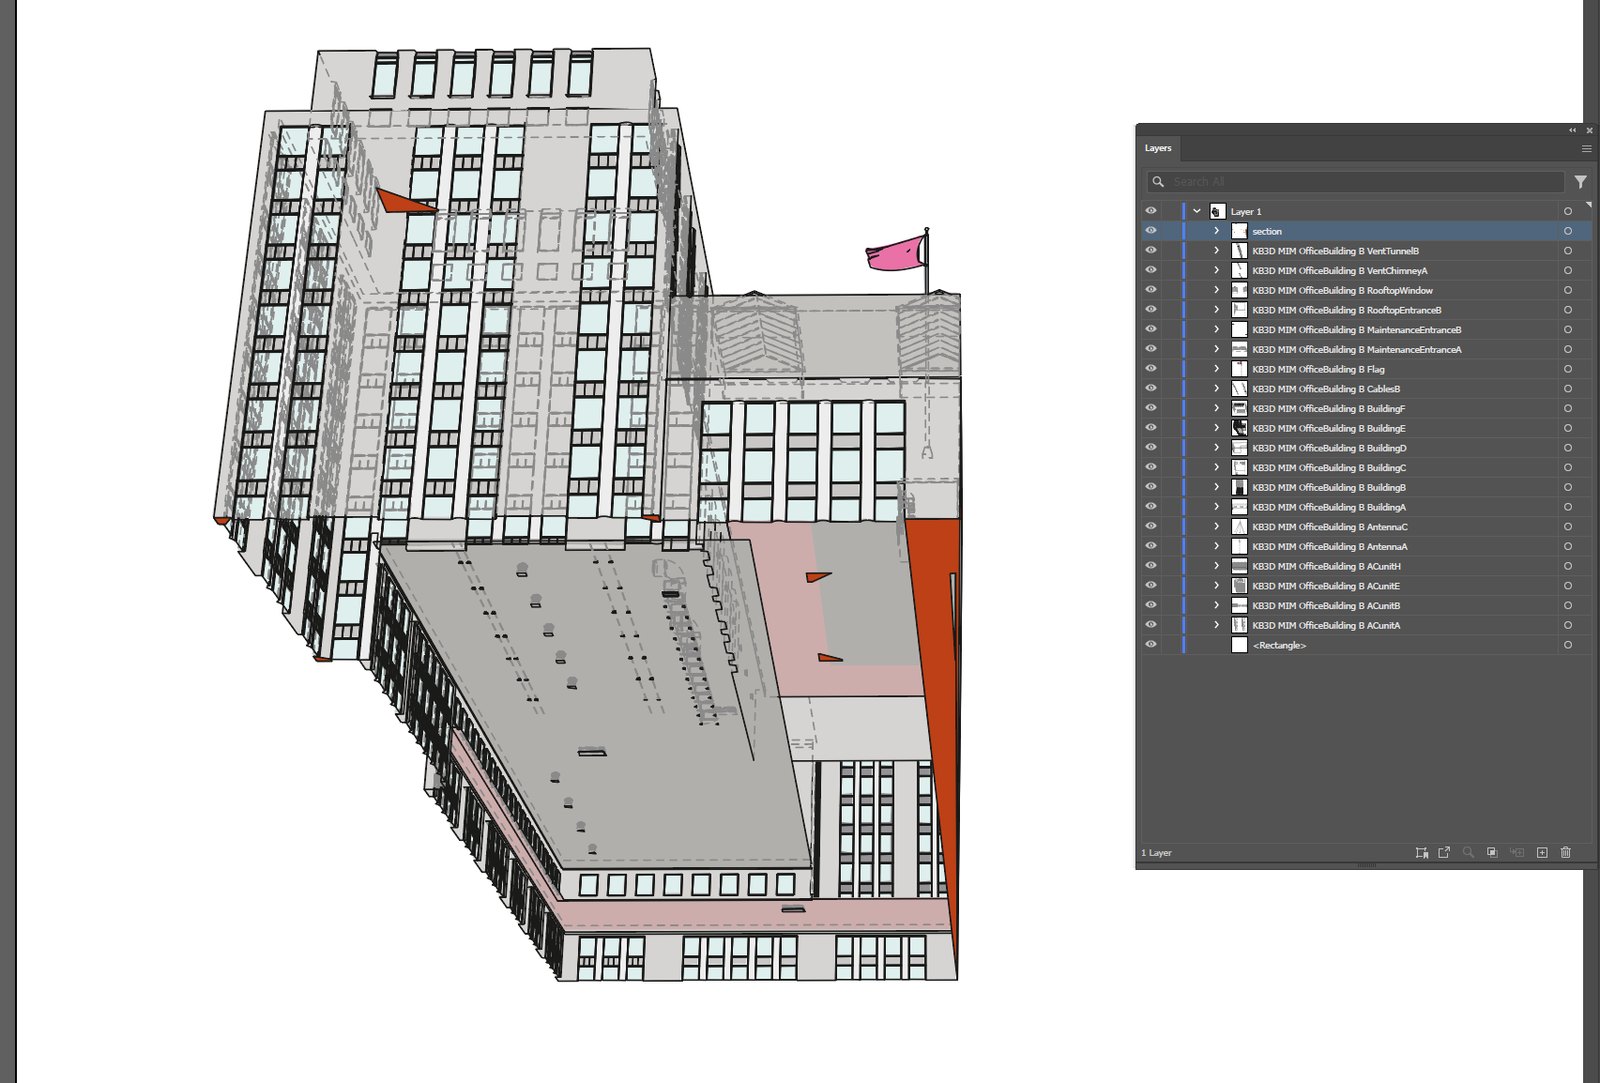
section layer, above the per-object layers, so recolouring every cut in the drawing is one click.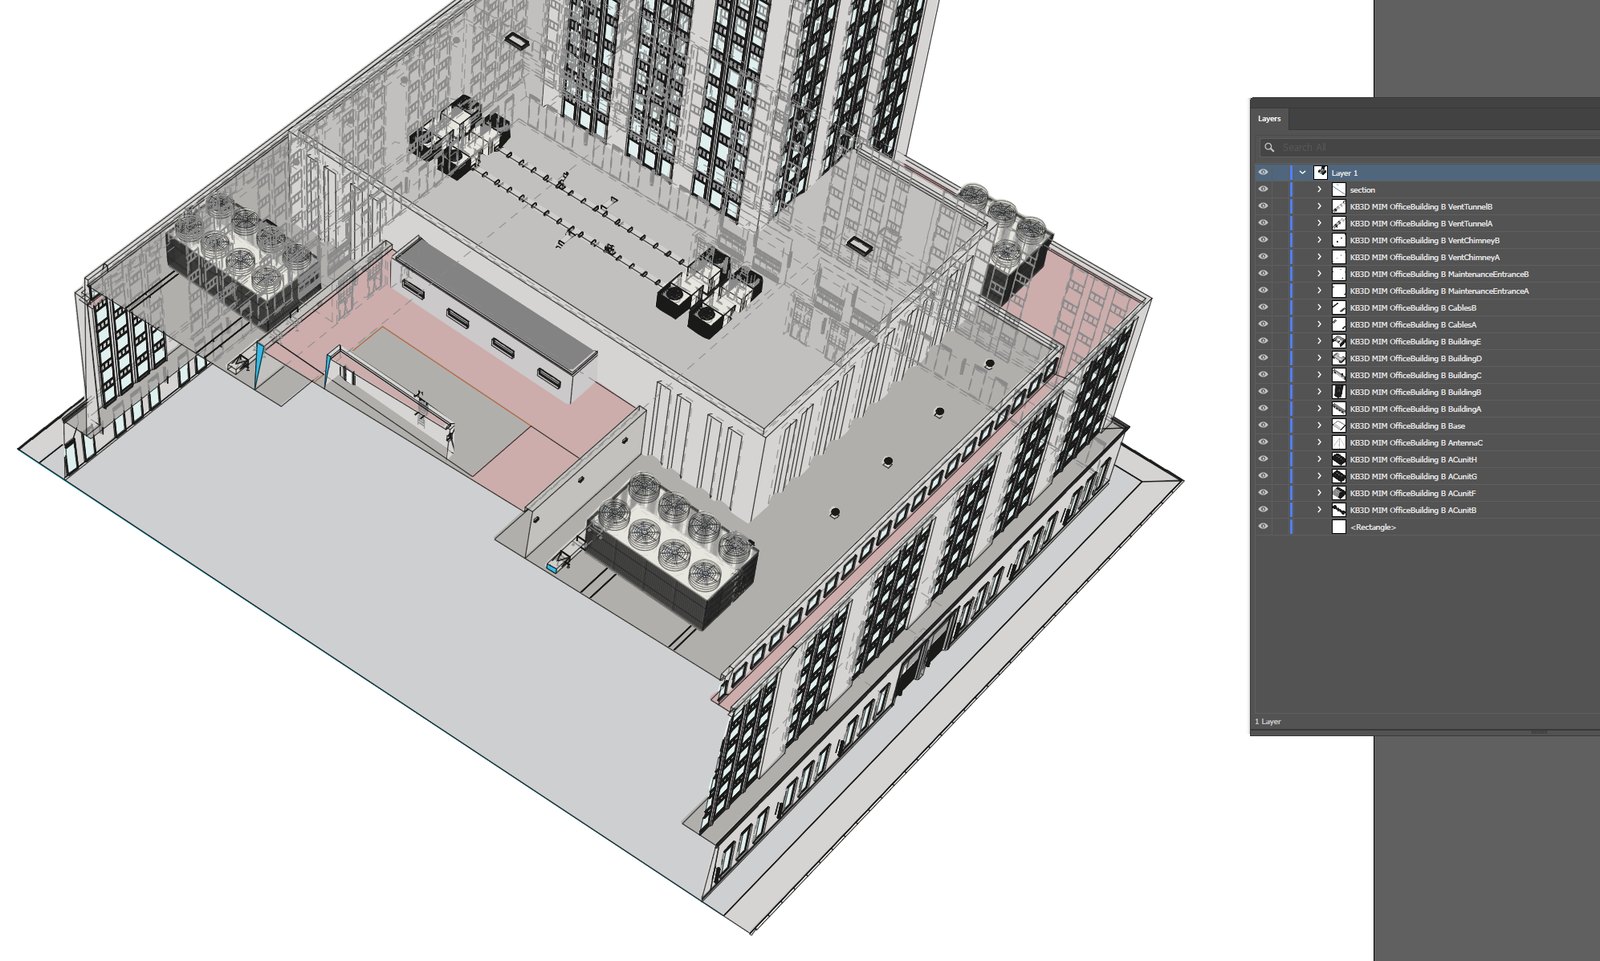
The cut happens before anything else looks at the geometry, so silhouettes, occlusion and fills all see the cut model as though it had been built that way. A section added at the end would have the silhouette of the whole object with a line drawn across it.
Standard views Drafting
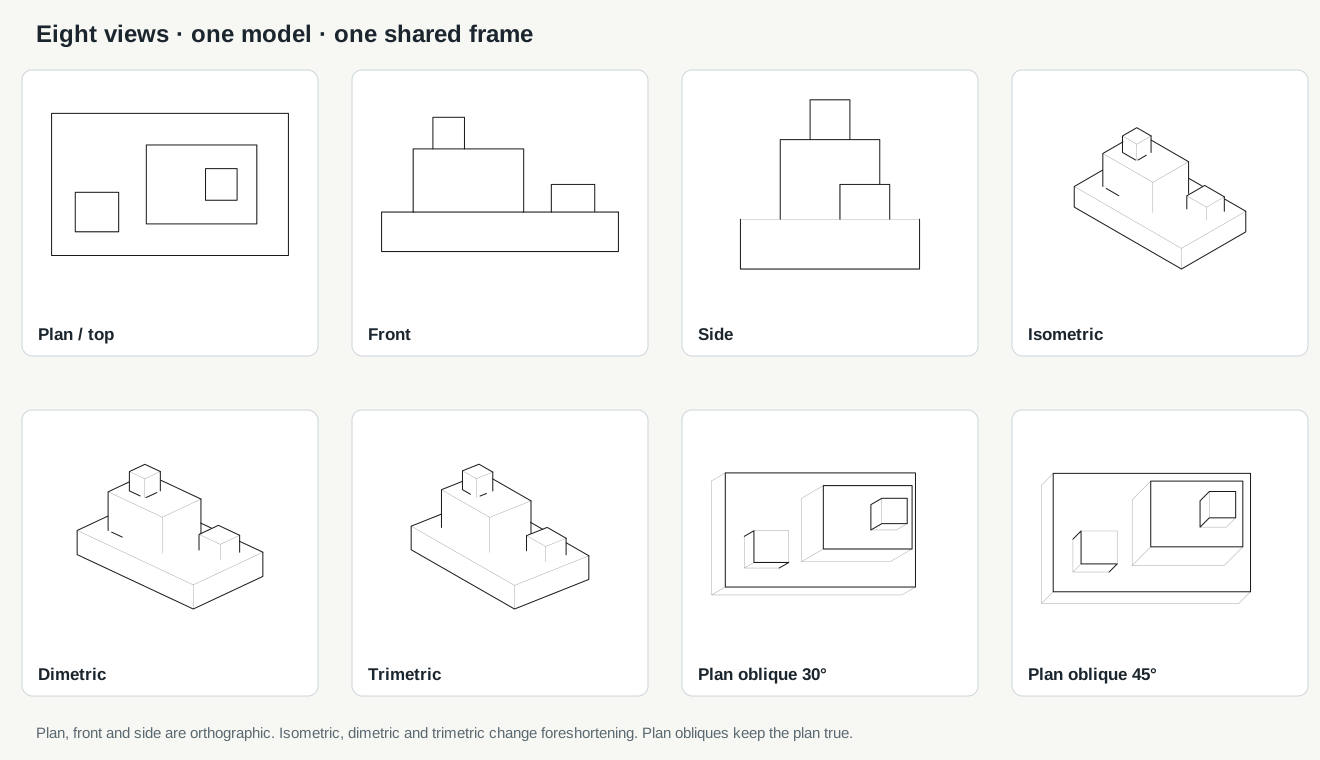
Tick the directions you want, choose a folder and press Draw Standard Views. One SVG is written for each direction, named after the view:
- Plan looks straight down and keeps the horizontal plan orthographic.
- Front and Side are the two principal elevations.
- Isometric foreshortens all three axes equally.
- Dimetric gives two axes one scale and the third another.
- Trimetric gives all three axes different foreshortening.
- Plan Oblique 30° and 45° keep the plan at one true scale; height recedes at the named angle and at half depth.
The point is that they share one scale: every view is framed from the same bounding box, not each to its own silhouette. A plan and an elevation framed separately cannot be measured against each other, which is the whole reason to draw them as a set.
Standard views are drawn from generated cameras, which cannot be rendered. They use the authored material colours; render colours and tones apply to the camera view only. The panel says so when you have both switched on.
What is in the drawing Drafting, Plotter
Select objects in the viewport and press Leave Out. They are removed before anything is projected, so they do not hide what is behind them either — which is what leaving an object out is normally meant to mean. Put Back reverses it for the selection; Draw Everything empties the list.
Selected Objects Only is the inverse and works the same way.
Output, page and scale
| Setting | Default | Notes |
|---|---|---|
| File | //drawing.svg | A JSON report is written beside it every time. |
| Also DXF Drafting, Plotter | off | One polyline per stroke, layers intact, Y upward, millimetres — for cutting and plotting. 117 lines of writer and no dependency. |
| Resolution | custom 1280×720 | Or follow the scene render size. This is the tracing resolution, not the output size: the SVG is vector. |
| Page width | 297 mm | The sheet the drawing is laid out on, so a length on the page means a length in the world. |
| Exact scale | off | 1:50 by default, with 1000 mm per Blender unit. Orthographic cameras only. |
An exact scale is refused on a perspective camera, deliberately. A perspective projection has no single scale, and printing one would be a false claim.
class attribute, so restyling a whole category — all creases, all hidden lines — is a single selection.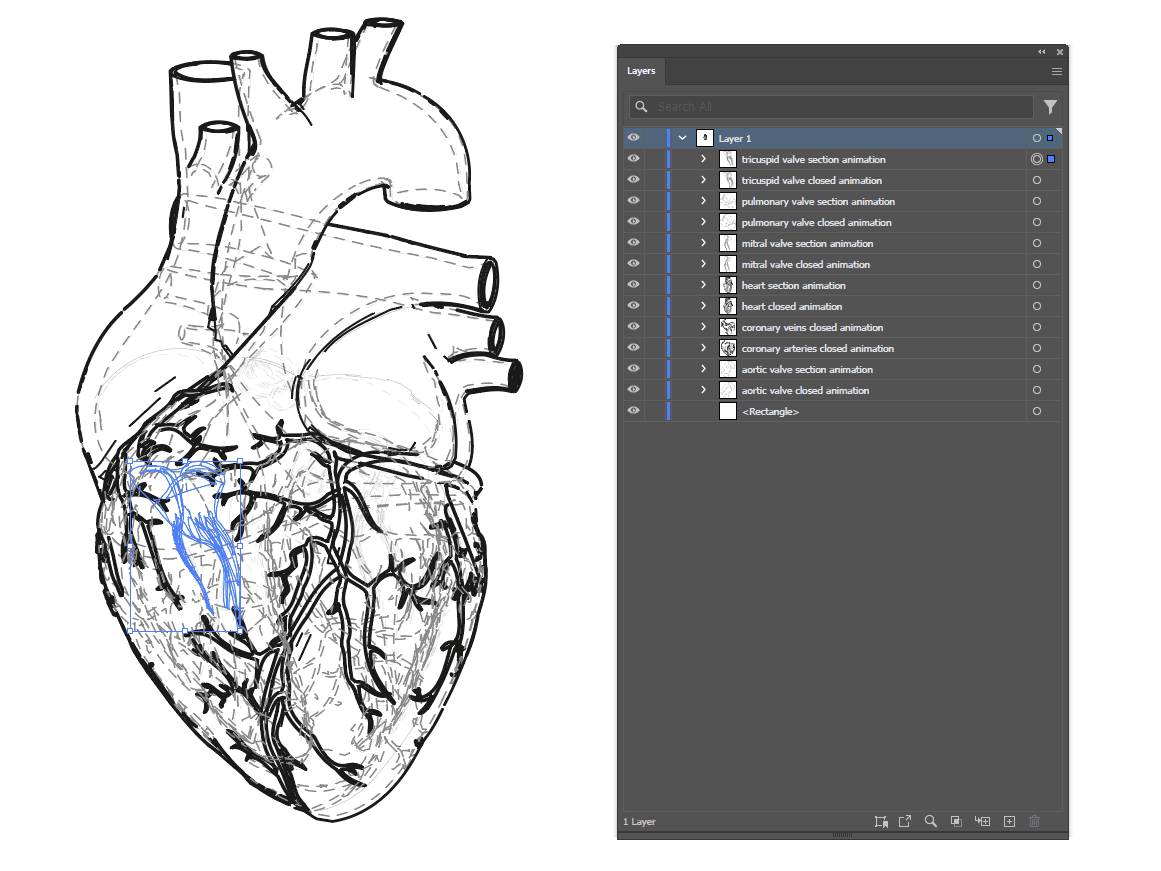
Advanced
| Setting | Default | What it is for |
|---|---|---|
| Reuse Unchanged Work all three | on | Keeps the topology, projection and depth buffer between exports and reuses them when the geometry and camera have not changed. The key is a hash of the geometry itself, so moving one vertex is noticed. The file written is byte-identical either way. |
| Set Thresholds by Hand all three | off | Takes the four numbers Detail controls. While it is on, the Detail slider no longer applies. |
| Crease angle | 53° | The dihedral angle that counts as a fold. |
| Minimum stroke | 1.3 mm | On the page, not in pixels. |
| Curve tolerance | 0.7 px | How far a fitted Bezier may stray. |
| Minimum shape | 20 px | How much page a filled region must cover to earn a path. |
| Chaining | smooth | Smooth follows the straightest continuation through junctions — right for drawings. Fewest pen lifts minimises lifts for plotters, at the cost of zig-zag joins. |
| Grouping | auto | Object → material → line class. None writes one flat set of layers. |
| Supersample | 2 | Sub-pixel sampling for shape edges. 1 is faster and rougher; 4 is slower and smoother. |
Recipes: combining the controls
A product illustration for a web page
Flat, editable, brand-safe colour. Raise Detail towards 0.6 if the form goes soft; lower it if the linework starts burying the fills.
The same, but it must look three-dimensional
Light the scene first. Raise Tone Threshold to 0.10 if flat surfaces are picking up shadows you do not want; lower Tone Strength if the tints are too strong for print.
A colouring page or a laser cut
Turn Material Edges off so a painted seam does not become a cut line.
A measurable reference drawing
The scale control only wakes up on an orthographic camera. On a dense interior, Detail 0.80 with hidden lines can be more ghost than drawing — drop to 0.5, or turn Hidden off for the general view and on for the detail.
A sheet for a workshop
All four framed from one bounding box, so they can be measured against each other. DXF for the machine, SVG for the page.
A cutaway of an assembly
The cut face gets its own fill and a heavy outline. Depth grading makes the near cut read forward of everything behind it.
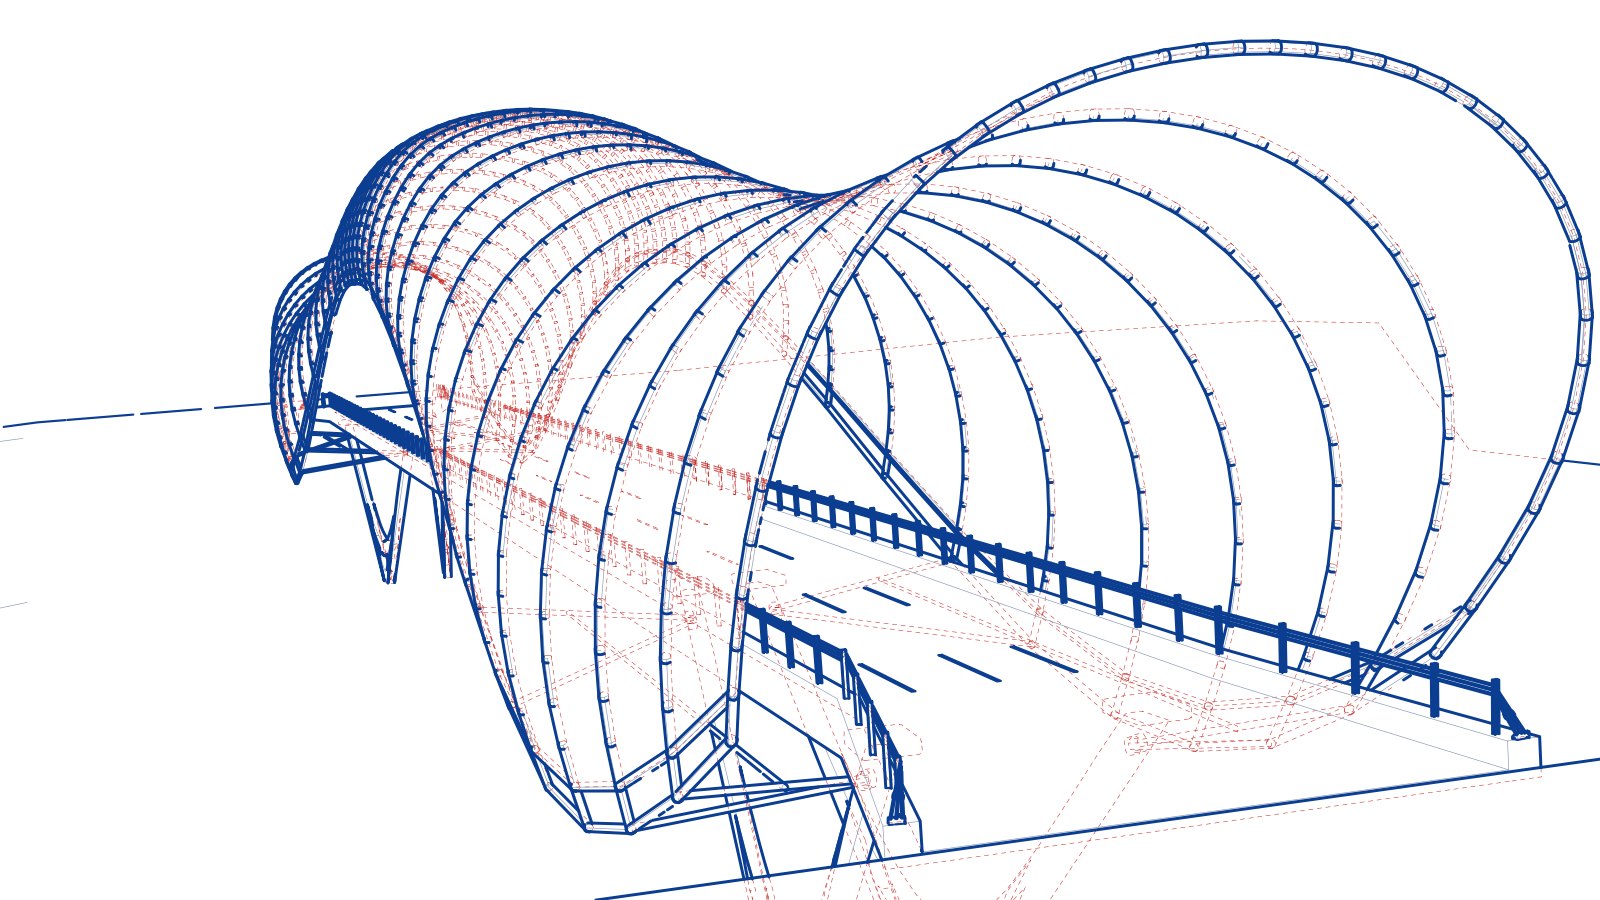
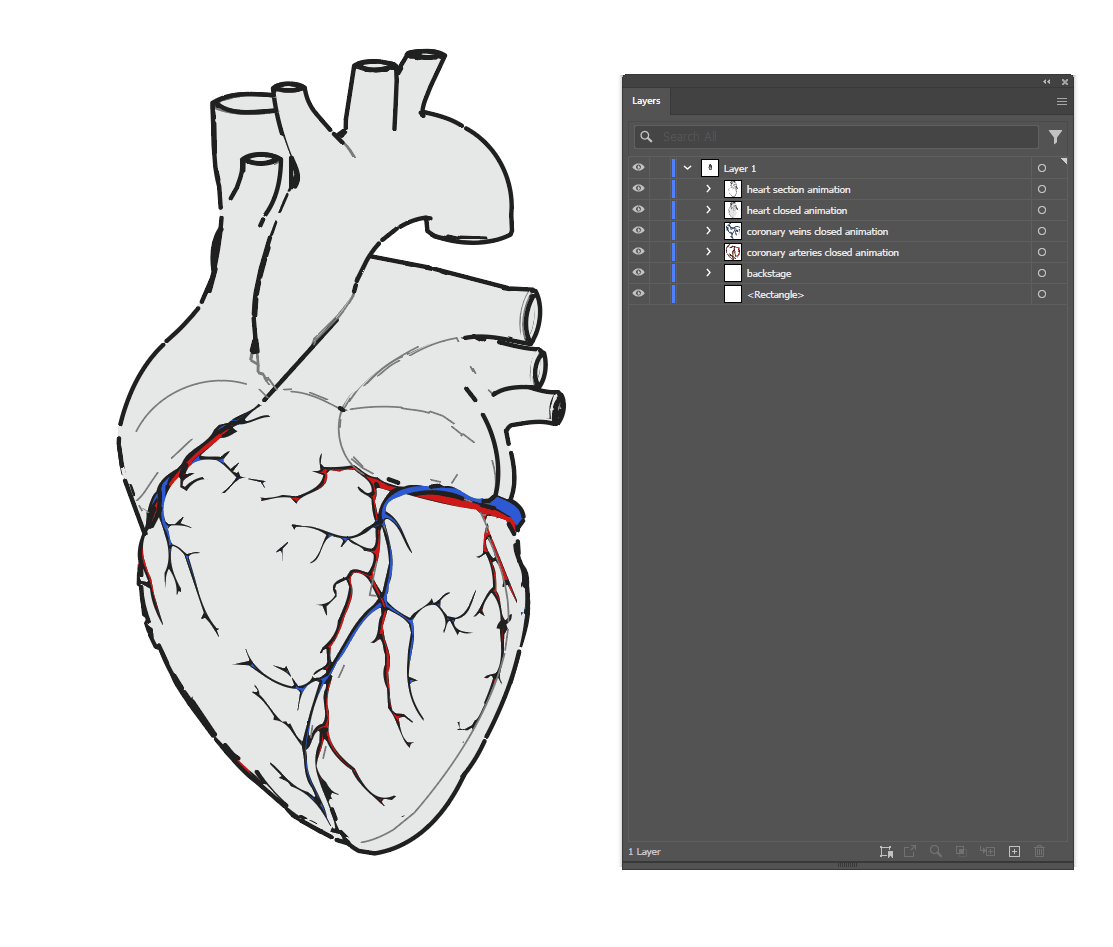
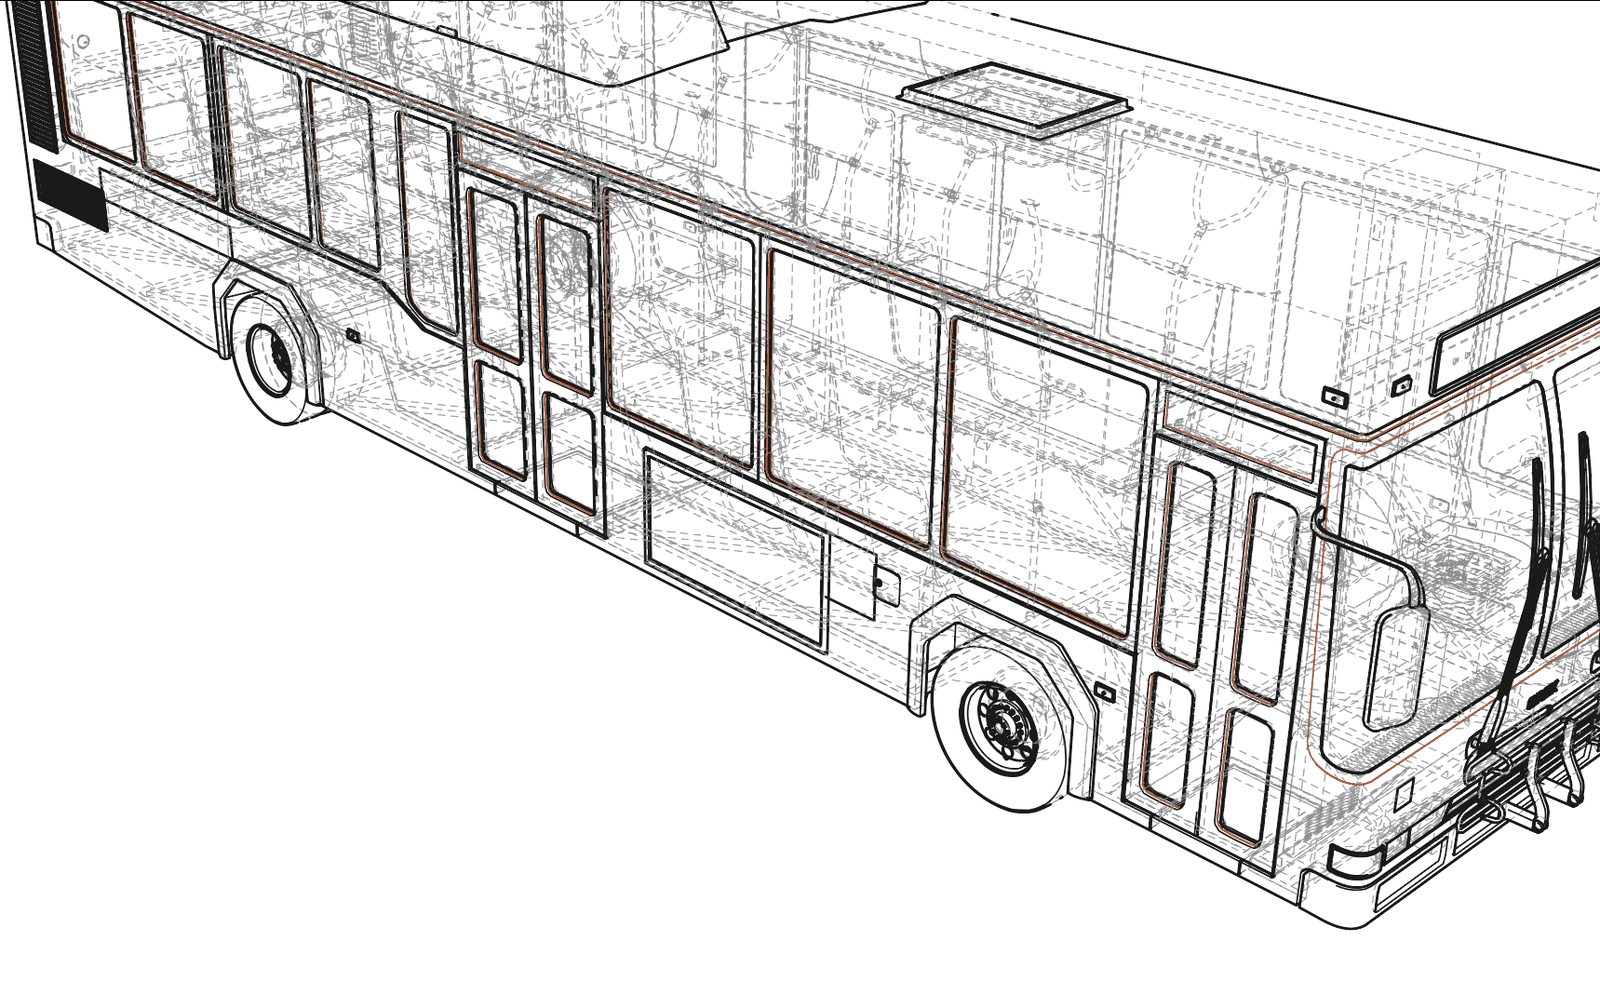
class attribute: visible lines to blue, hidden to a fine red dash. The exporter did not draw this palette — it made it selectable in two clicks.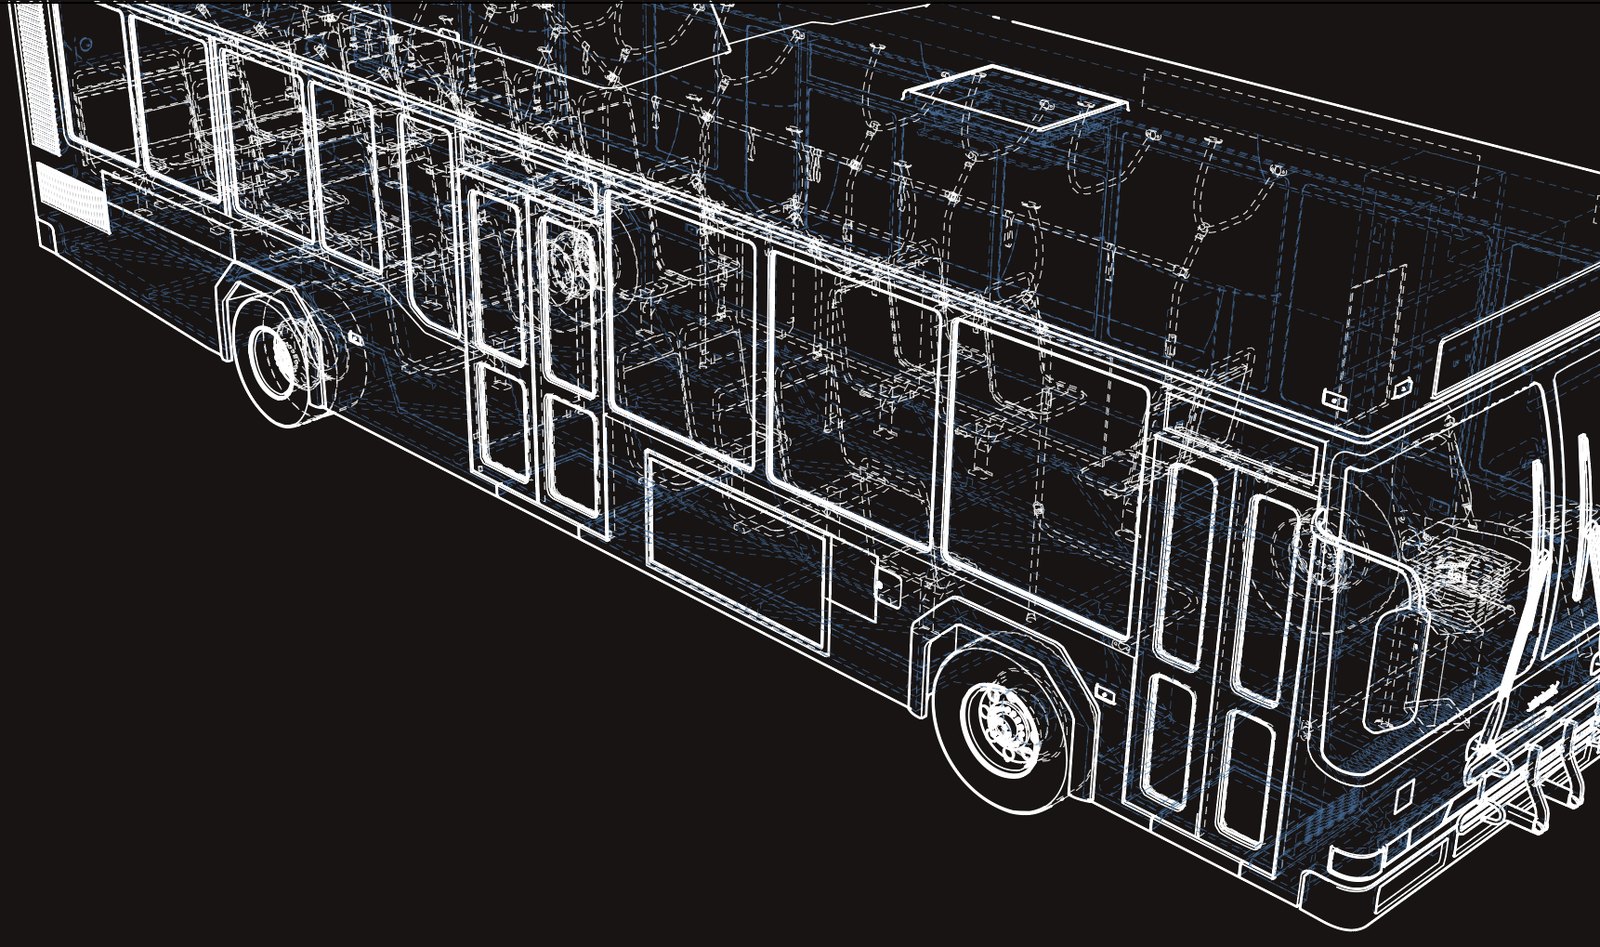
Combinations to be aware of
- Match Render Appearance with Filled Shapes off does nothing — there is nothing to colour. The panel warns.
- Tones with Filled Shapes off is the same story: tones are bands within a fill.
- Exact scale on a perspective camera is refused, not silently wrong.
- Standard views with render colours or tones falls back to material colours, because a generated camera cannot be rendered.
- Set Thresholds by Hand switches the Detail slider off. Changing a mode switches it back on, because a mode owns Detail.
Known problems, and what we know about them
Everything here is current, measured, and being worked on. None of it is hidden behind a feature list.
Speed on very heavy scenes open
A 1.9 million triangle cinema interior takes about a minute at preview size. That is down from ten minutes — the depth rasteriser and the face normals were rewritten to work on whole arrays instead of one face at a time — but it is still a wait.
Being worked on: chaining and the visibility split are now half the remaining time and are the next thing to be vectorised. A section of a 950,000-triangle building takes about half a minute; keeping the outside of a box, which draws the whole model minus a notch, takes about a minute and a half.
Hairline seams between adjacent fills fixed, watching
Two neighbouring shapes each traced their own coverage at one half, so along a shared boundary both retreated and left a thread of bare paper — worst where the boundary is horizontal or vertical, which is most of a building.
Shapes now overlap by a fraction of a pixel where they meet each other, and not where they meet the background. A regression test holds both halves. What we do not yet have is a re-measurement on a large real scene since the fix; if you see a white thread, please say where.
Tones on a noisy render handled, imperfect
Denoising is deliberately off so that colours are repeatable, which costs grain. Grain banded straight is a tone broken into thousands of speckles. The luminance is blurred before banding and specks below the minimum shape size are dropped, but a very low sample count in a dark scene can still band oddly. Raise Render Samples if tones look blotchy.
Shaded Illustration is the least finished mode open
It works, and the machinery under it is measured: tones are traced from a blurred luminance so that render grain does not become a thousand speckles, evenly lit shapes are left flat rather than given an invented shadow, and the tints come from the material colour rather than the render. What has not been done is a proper look at the result on a range of real scenes, and its quality is the current piece of work. Treat it as the roughest thing here.
Transparency is ignored by design, for now
Glass, alpha blending and refraction are drawn as opaque. Preflight warns when it finds materials that look transparent and names them. Nothing shows through.
Non-manifold and coincident geometry handled
Edges shared by more than two faces are kept rather than dropped, because real production meshes have them and dropping them silently leaves holes in the drawing. Coincident surfaces resolve to the earliest face, deterministically. Negative object scale flips normals and is reported by preflight rather than corrected behind your back.
Things preflight will tell you about
- No camera, nothing in shot, or a camera pointing away — these block the export rather than producing an empty file that looks like a success.
- A camera inside the model's bounding box, which is normal for an interior and wrong for a product shot.
- Transparent materials, broken textures, a missing world, negative scale, very dense meshes, depth of field, motion blur.
What it does not do
- No dimensions, annotations or title blocks. No measurements, centrelines, hole callouts, GD&T or tolerances. It is not a drafting tool and does not claim to be.
- Text becomes outlines. Text objects are exported as shapes, not as editable text with a font.
- One frame. No animation, no frame ranges, no stability of identity between frames.
- No gradients. Every fill is flat by design; tones are flat bands, not a gradient mesh.
- No light and shadow beyond the tone bands. There is no separate Base / Shadow / Highlight decomposition to edit as layers of the same shape.
- No auxiliary or detail views beyond the eight standard directions, and no automatic view selection.
- A cut section fills only where the plane meets solid material. Surfaces with no thickness are cut as lines, correctly, and there is nothing to fill.
- No exploded views, BOM, assembly steps or STEP import. Those are other tools' jobs and several Blender add-ons already do them well.
- No hatching patterns. The cut face is a flat fill, not a hatch.
- Not tested on macOS or Linux.
When something goes wrong
| What you see | What it usually is |
|---|---|
| Blender looks frozen | It is drawing. Watch the progress bar in the panel; press Cancel or Escape to stop it cleanly. A cancelled export leaves no half-written file. |
| An empty or nearly empty drawing | The camera does not see the model, or Detail has removed everything at this resolution. Press Check Scene — it names the reason. An empty result is reported as a failure, never as a success. |
| Everything is one flat grey | Materials with no base colour, or Preserve Material Colours on a scene whose colour lives entirely in the lighting. Try Match Render Appearance. |
| Colours far darker than the render | Fixed in 1.0. If you still see it, the add-on is an older build — check the version in Preferences. |
| A white thread between two colour areas | The seam described above. Please report where it is, at what page size. |
| Preview shows nothing | No image editor was available. The panel says which image to open; open an Image Editor and choose it. |
| The silhouette looks inside out | Negative object scale. Preflight names the objects; apply scale. |
| The drawing changed after you edited an add-on setting outside the panel | Choosing a mode resets the ten settings the mode owns. The panel lists which ones. |
Every export writes a JSON report beside the drawing: path and anchor counts, duplicates removed, how much ink is on the page, how many fragments fell under the threshold, and per-stage timings. If a line you expected is missing, the diagnostic can say which setting removed it.
The three add-ons
All three come from the same tree. The product table chooses the modes and controls, while the release builder derives a separate package, operator, panel and scene namespace for each. None is a worse renderer than the others; each is a shorter menu over the same one, aimed at somebody with a different job.
They can be installed together and compared in the same Blender session.
| Illustration | Drafting | Plotter | |
|---|---|---|---|
| Clean Outline, SVG, layers, real holes, fitted curves | yes | yes | yes |
| Exact hidden-line removal | yes | yes | yes |
| Preview, preflight, progress and cancel, report | yes | yes | yes |
| Page in millimetres, per-class line styles, caching | yes | yes | yes |
| Illustration and Shaded Illustration modes | yes | — | — |
| Filled shapes and tones | yes | fills only | — |
| Match Render Appearance | yes | — | — |
| Technical mode, hidden lines | — | yes | — |
| Cut sections: plane, box, slab | — | yes | — |
| Standard views at one shared scale | — | yes | — |
| Depth-graded line weight | — | yes | — |
| Plotter mode, one pen per layer | — | — | yes |
| An exact drawing scale | — | yes | yes |
| DXF output, leaving objects out | — | yes | yes |
Where a build does not carry a feature, the control is shown, disabled, with a line saying which add-on it lives in. Hiding it would leave people unable to discover what the others do; silently ignoring it would be worse.